This was just a lighting test, so I've only edited a couple of shots fully, but I wanted to share a few with the lights still in.
I always learned by looking at other photographers set ups so if these help - I'm glad!
Gear: Nikon Z8, Nikkor 24-70mm f/4 lens.
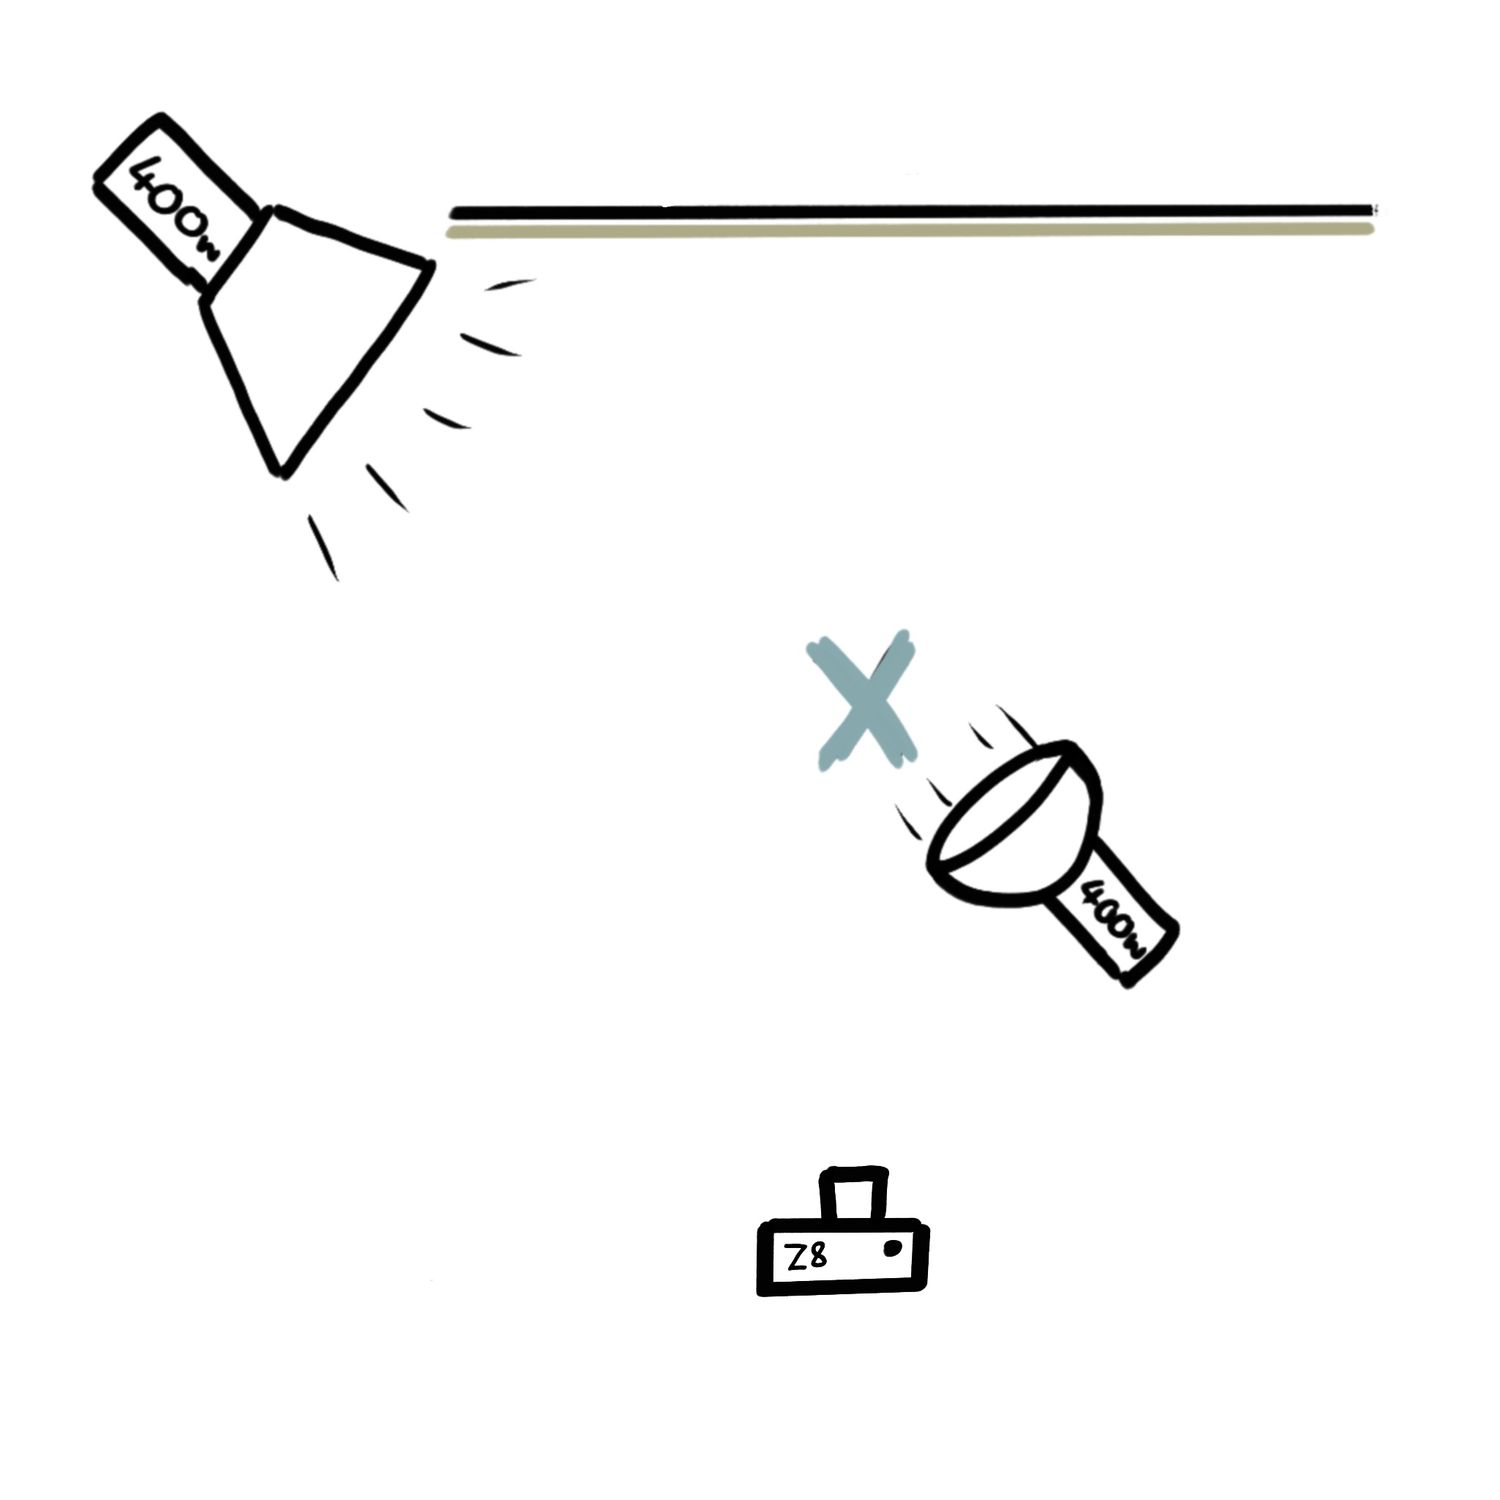
Lighting: Westcott 400W Strobes, 1x3 Strip box, 16" Beauty dish with hexagon modifyer, Neewer flashlight with gobo
Software: Capture One, Adobe PhotoShop
Set Up 1
In the least glamourous way, the background is a white window blind balanced on the edge of a sink and a bath... Not perfect but good enough for a home test shoot!
The main light is my honeycombed beauty dish on a Westcott 400W strobe, positioned just above and in front of my face. It's as close to me as possible as that helps provide the gorgeous soft shadows that fall away.
The second light is the hair/side light - a 1x3 softbox on my Westcott 400W strobe. I put this as far back as I could (level with the background in the tiny space!) and pointed it at the back of me to try and create some separation from the background.
I put my camera as far back as possible, so again I could get away from the background and started shooting!
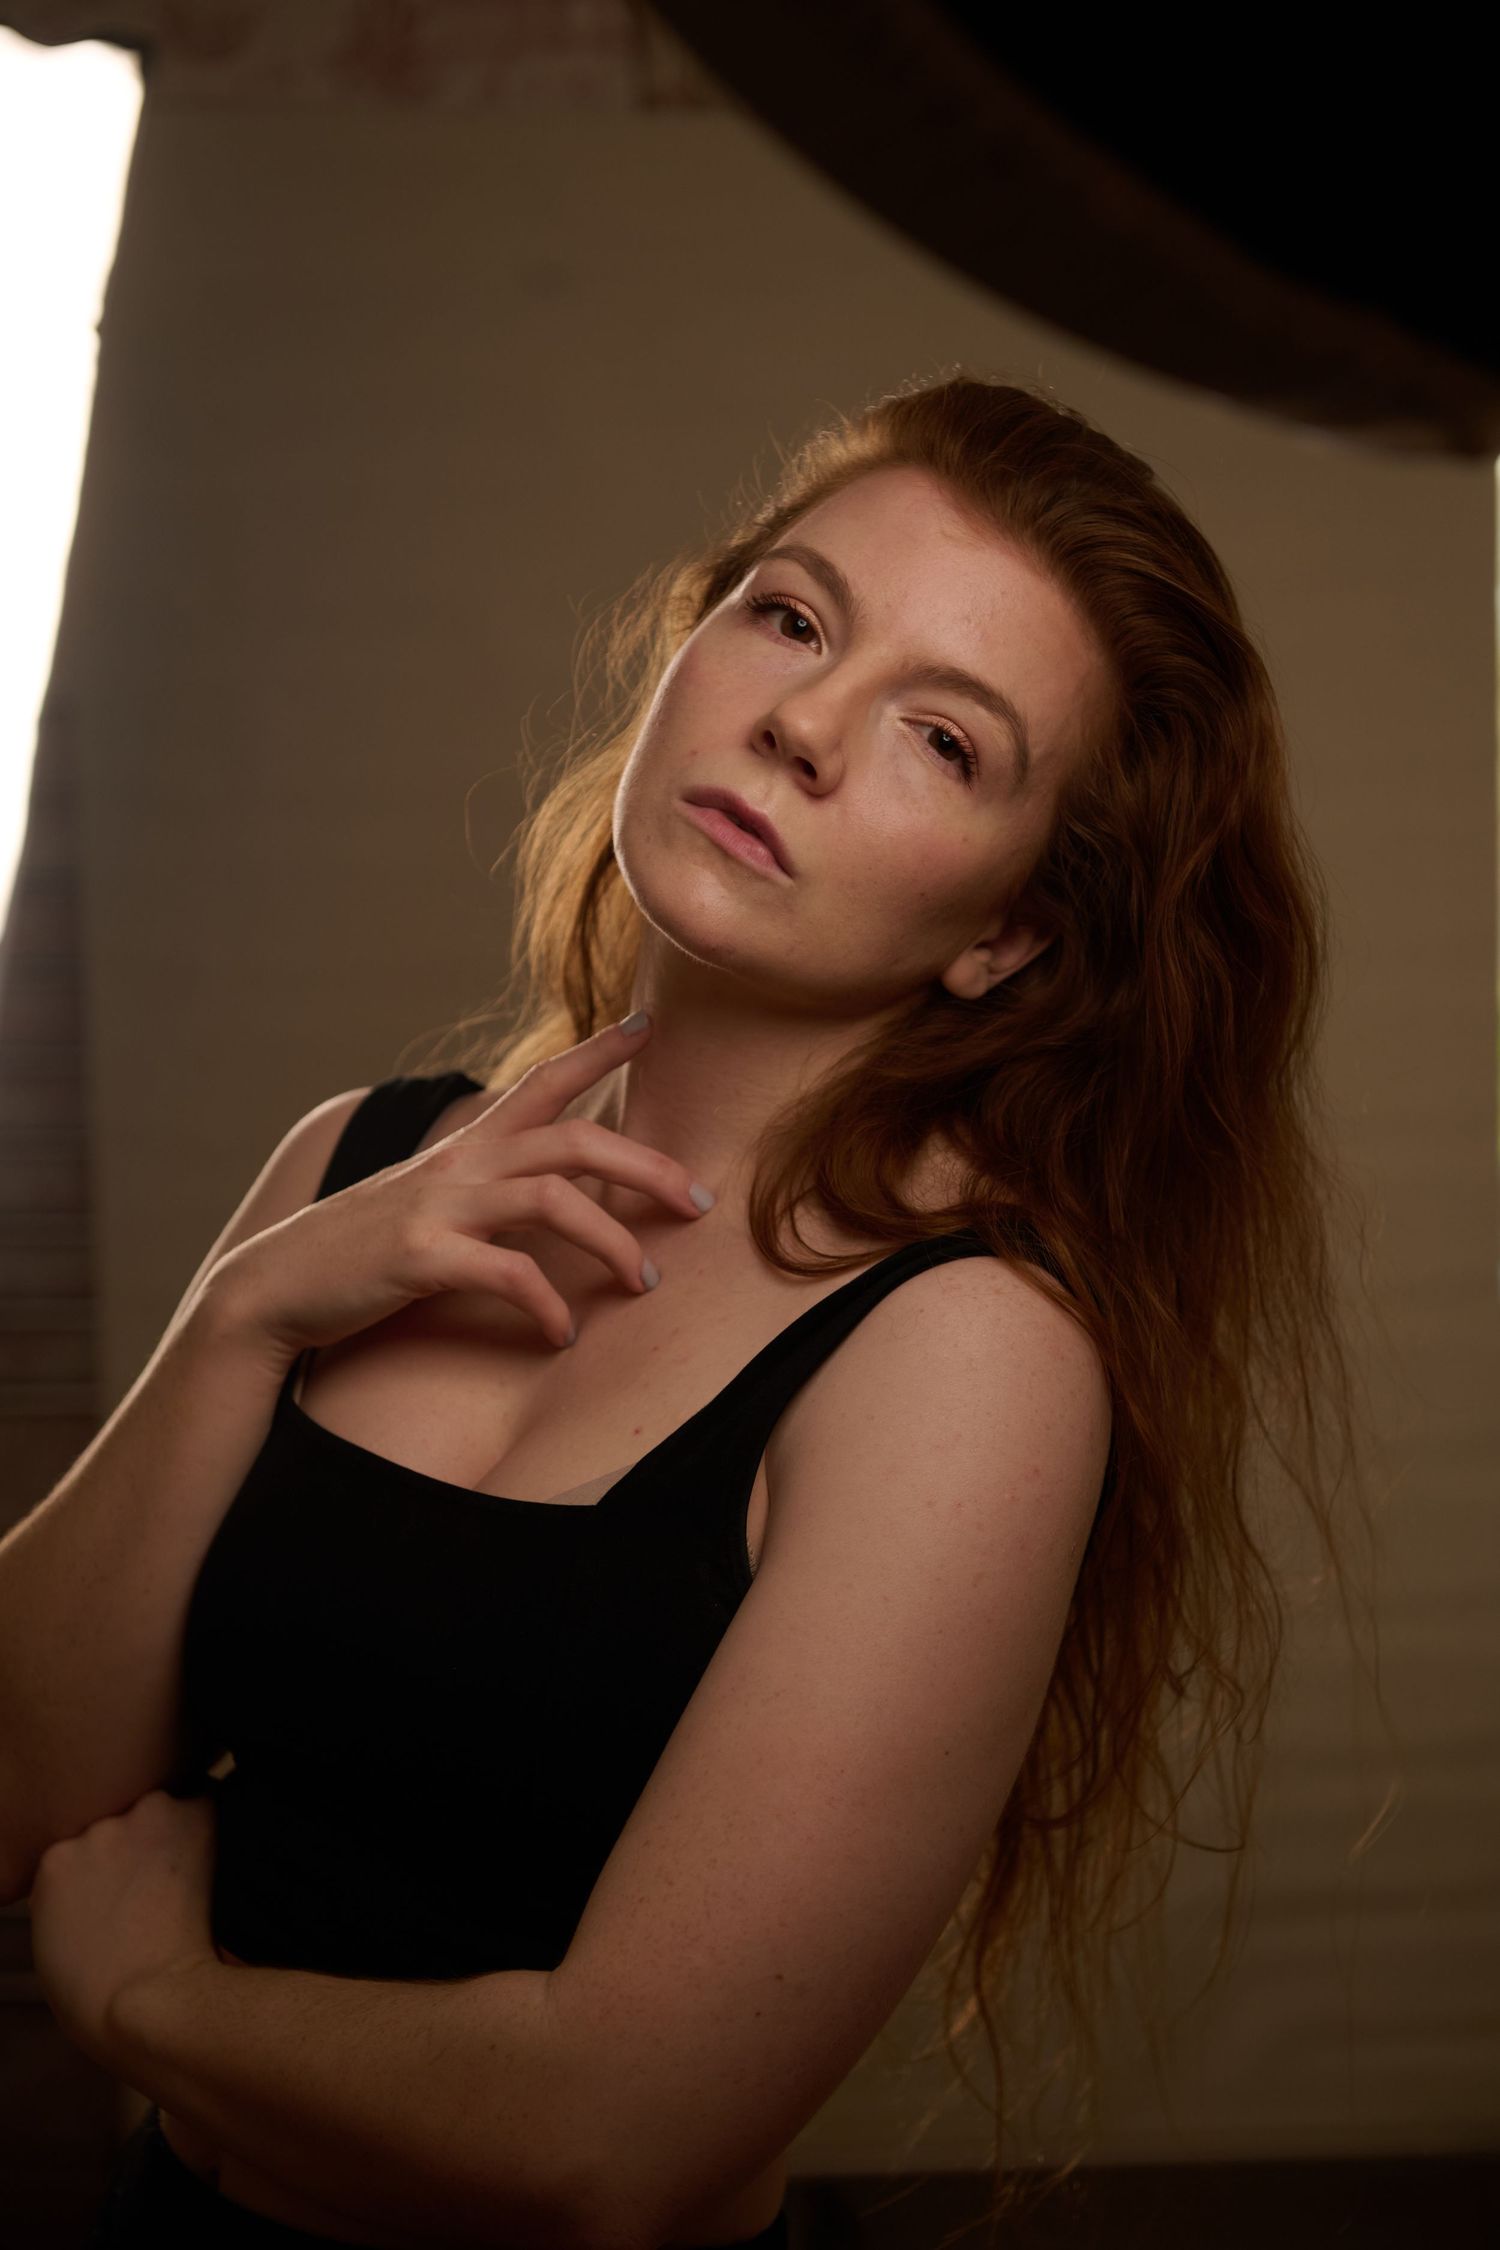
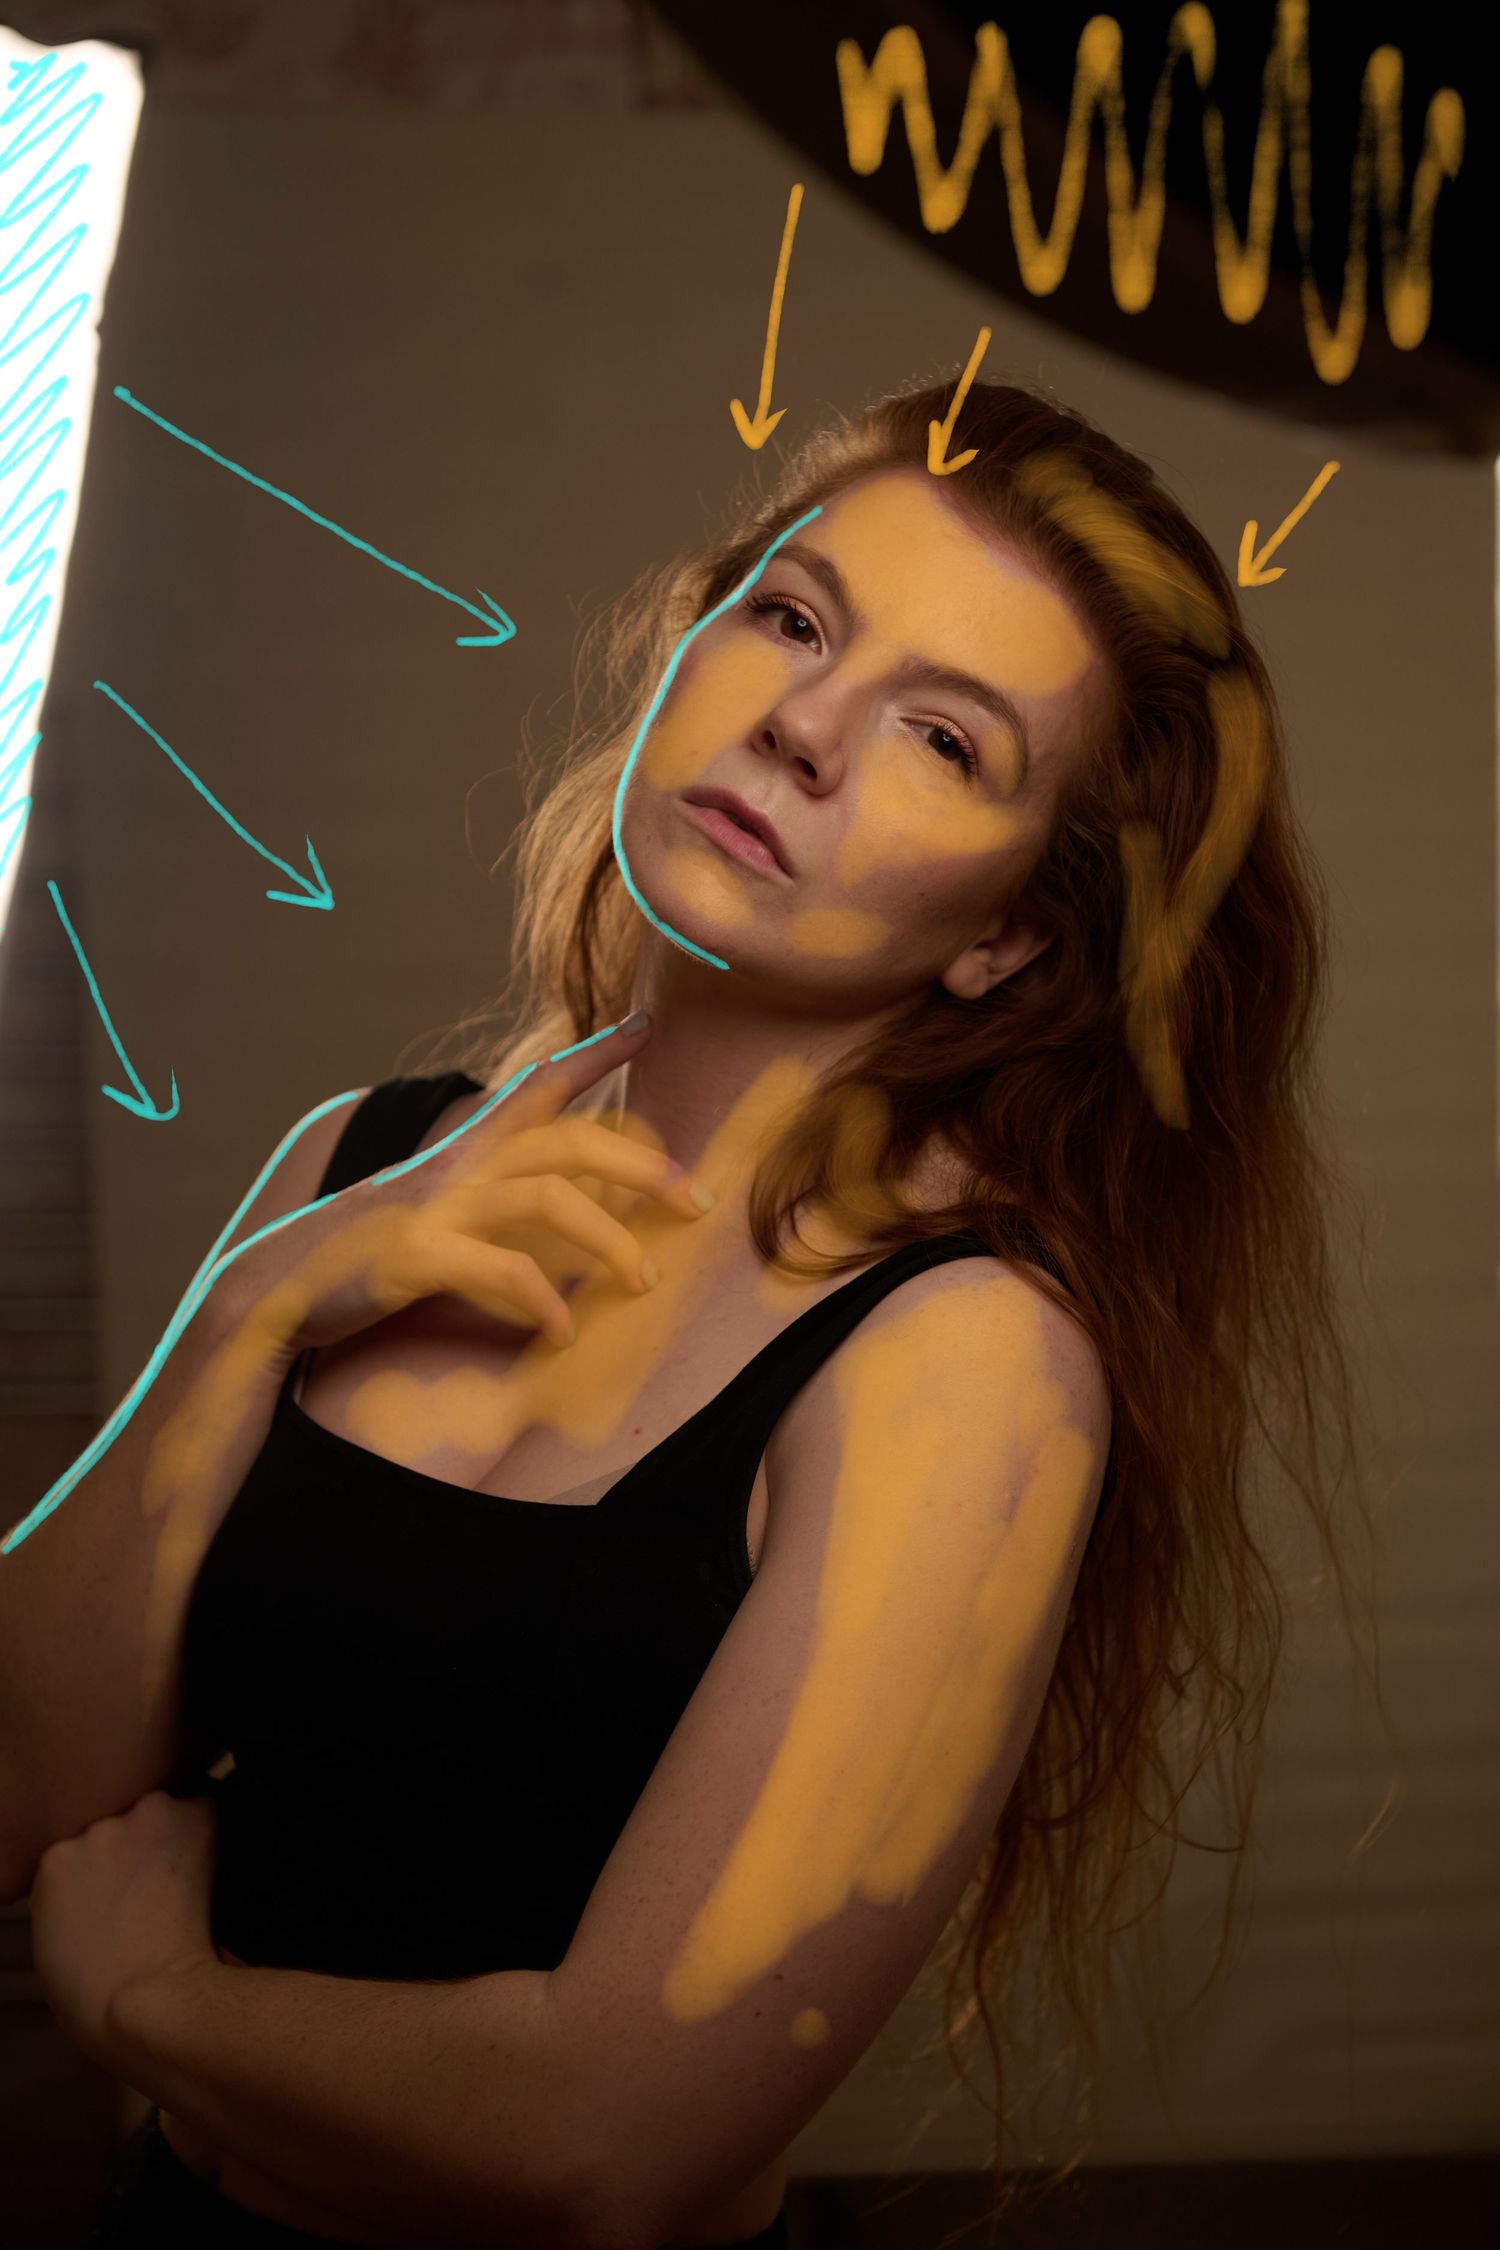
Before
The teal is where the hair light hits, the orange is the light from the beauty dish!
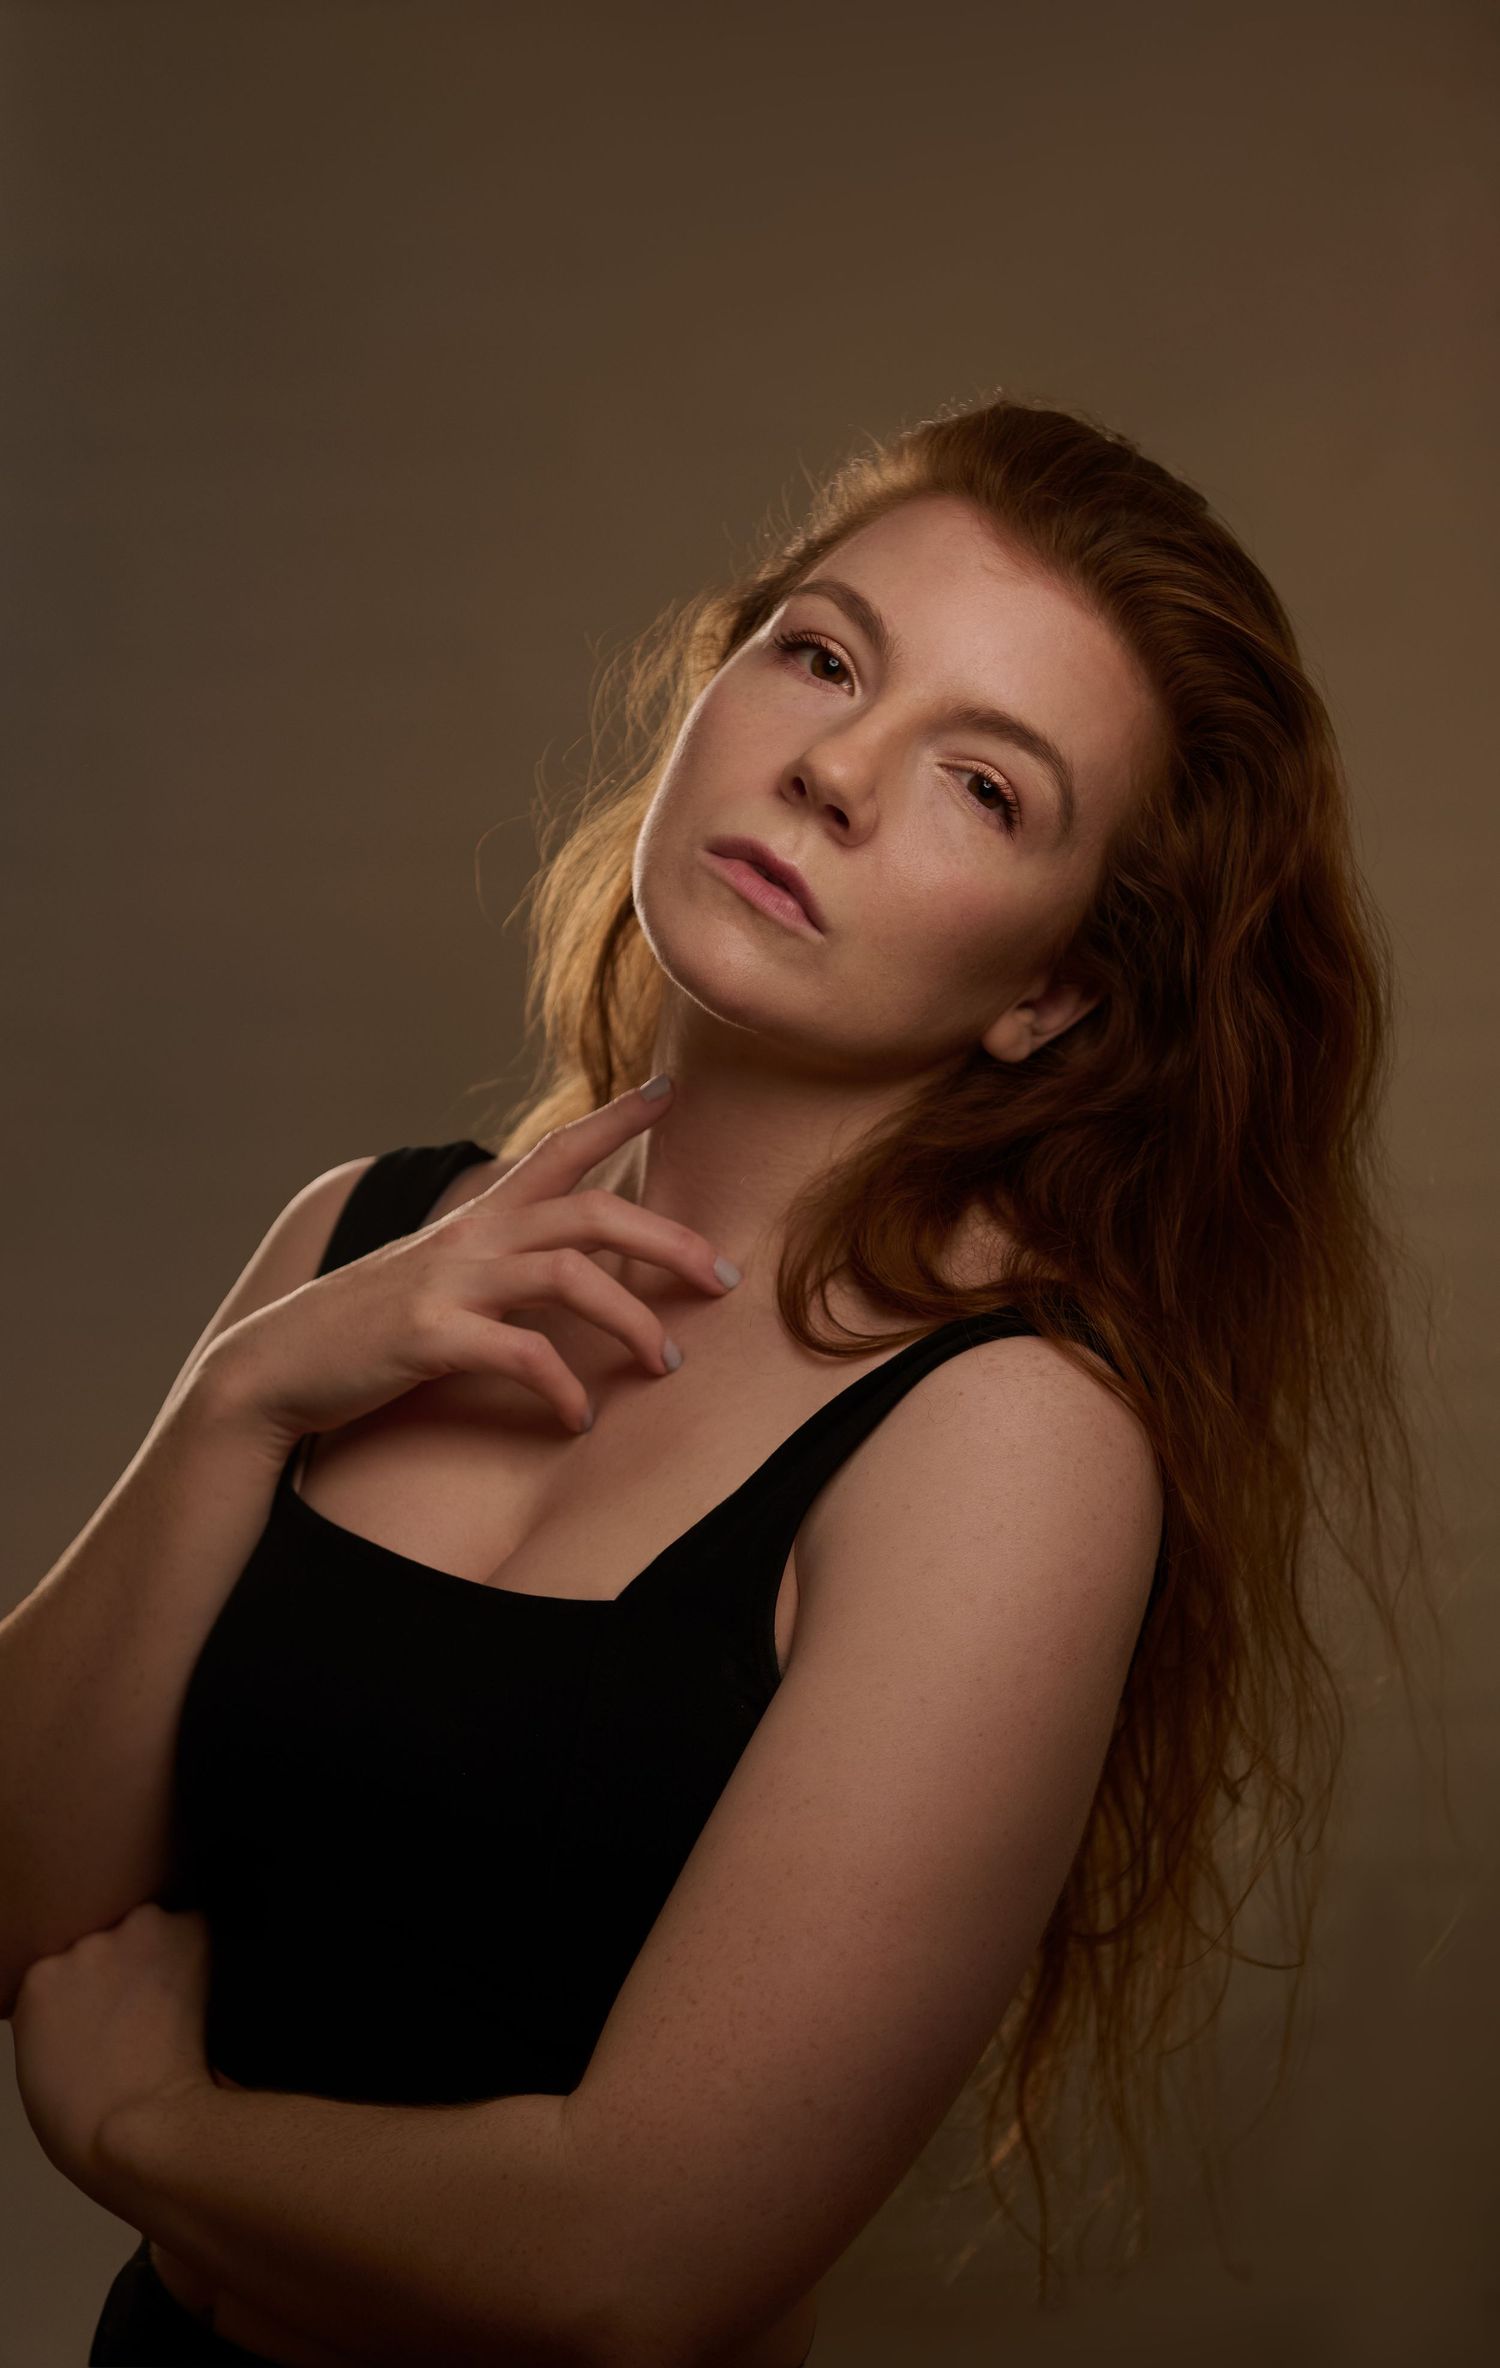
After
I'm so so pleased I managed to get a shot where the hair light is PERFECT in the way it frames just round the edge of me - it was a stroke of luck as obviously I can't really see myself when shooting self-portraits so there was a good amount of trial and error involved!
'Other' Set 1 Photos:
Constructive criticism is super important, especially when the shoot is a light test or I'm learning a new technique! Here are some of the photos that didn't make 'the cut' in my head because the lighting wasn't quite right. Obviously in some of these I'm not 'posing' the best but I'm standing in as the model for these ones not the main star!
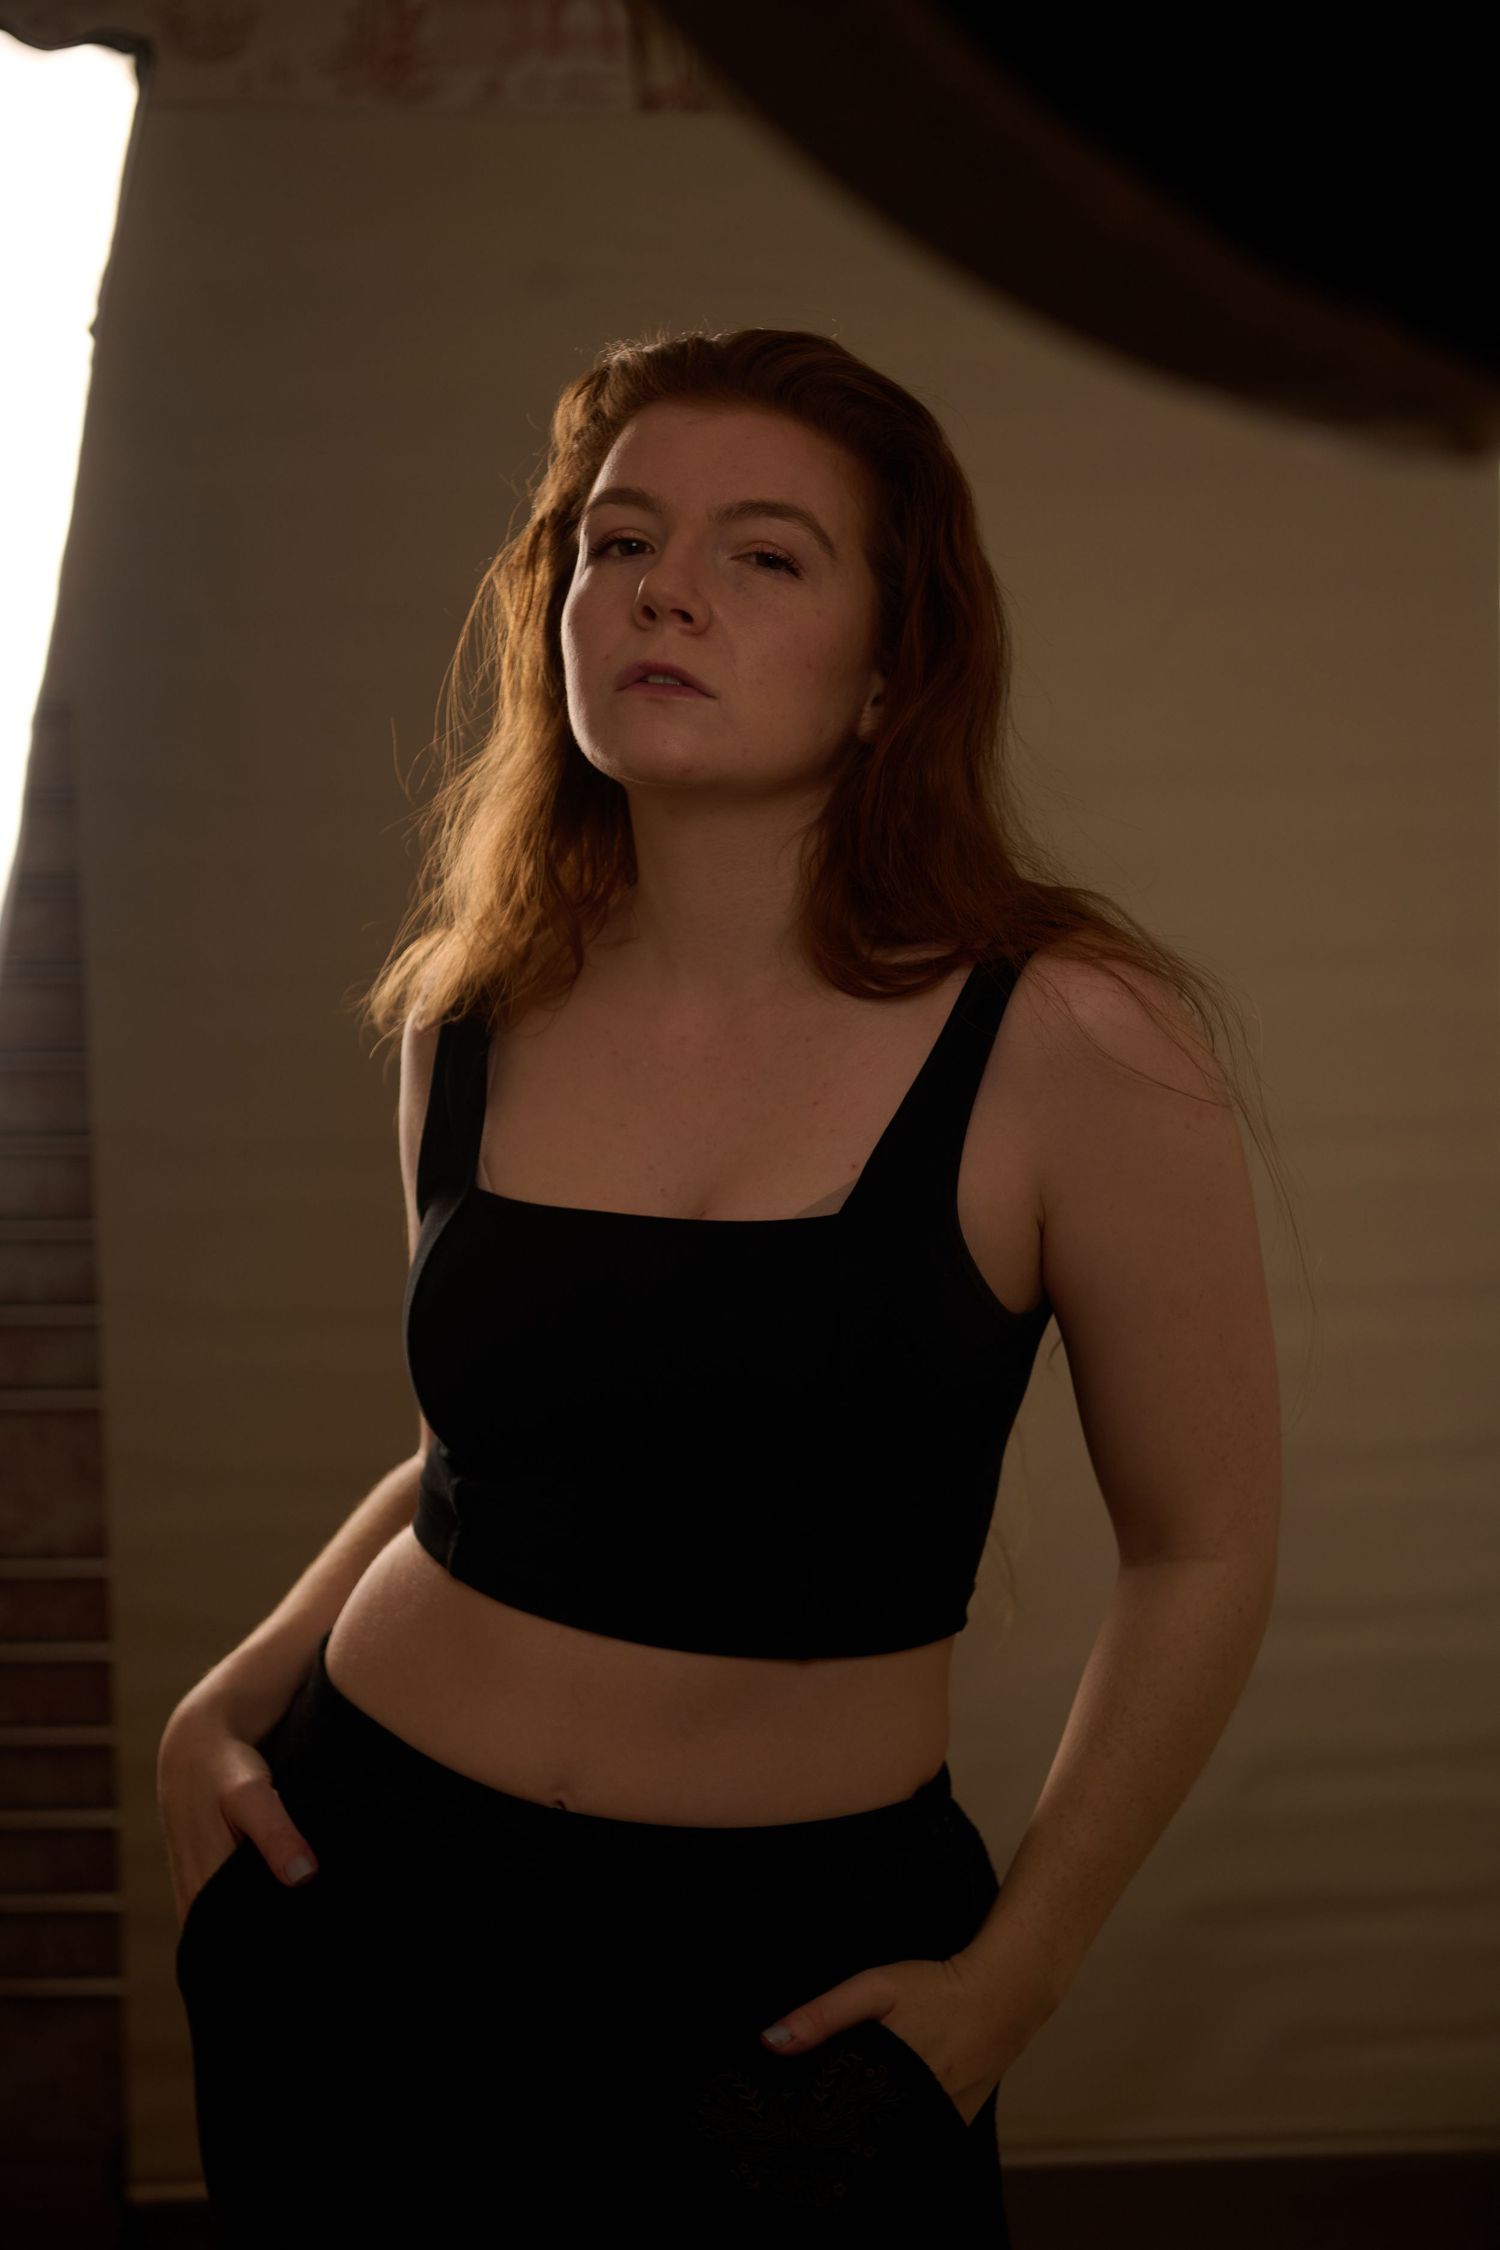
It's a good shot but there's a little too much light spill from the hair light (If I'm being super picky!)
Also you can see that even though I've only moved back a tiny bit, the beauty dish light is much dimmer - a good reminder to stay close if you want that gorgeous highlight!
Would I still happily use this photo as a final though? Yes.
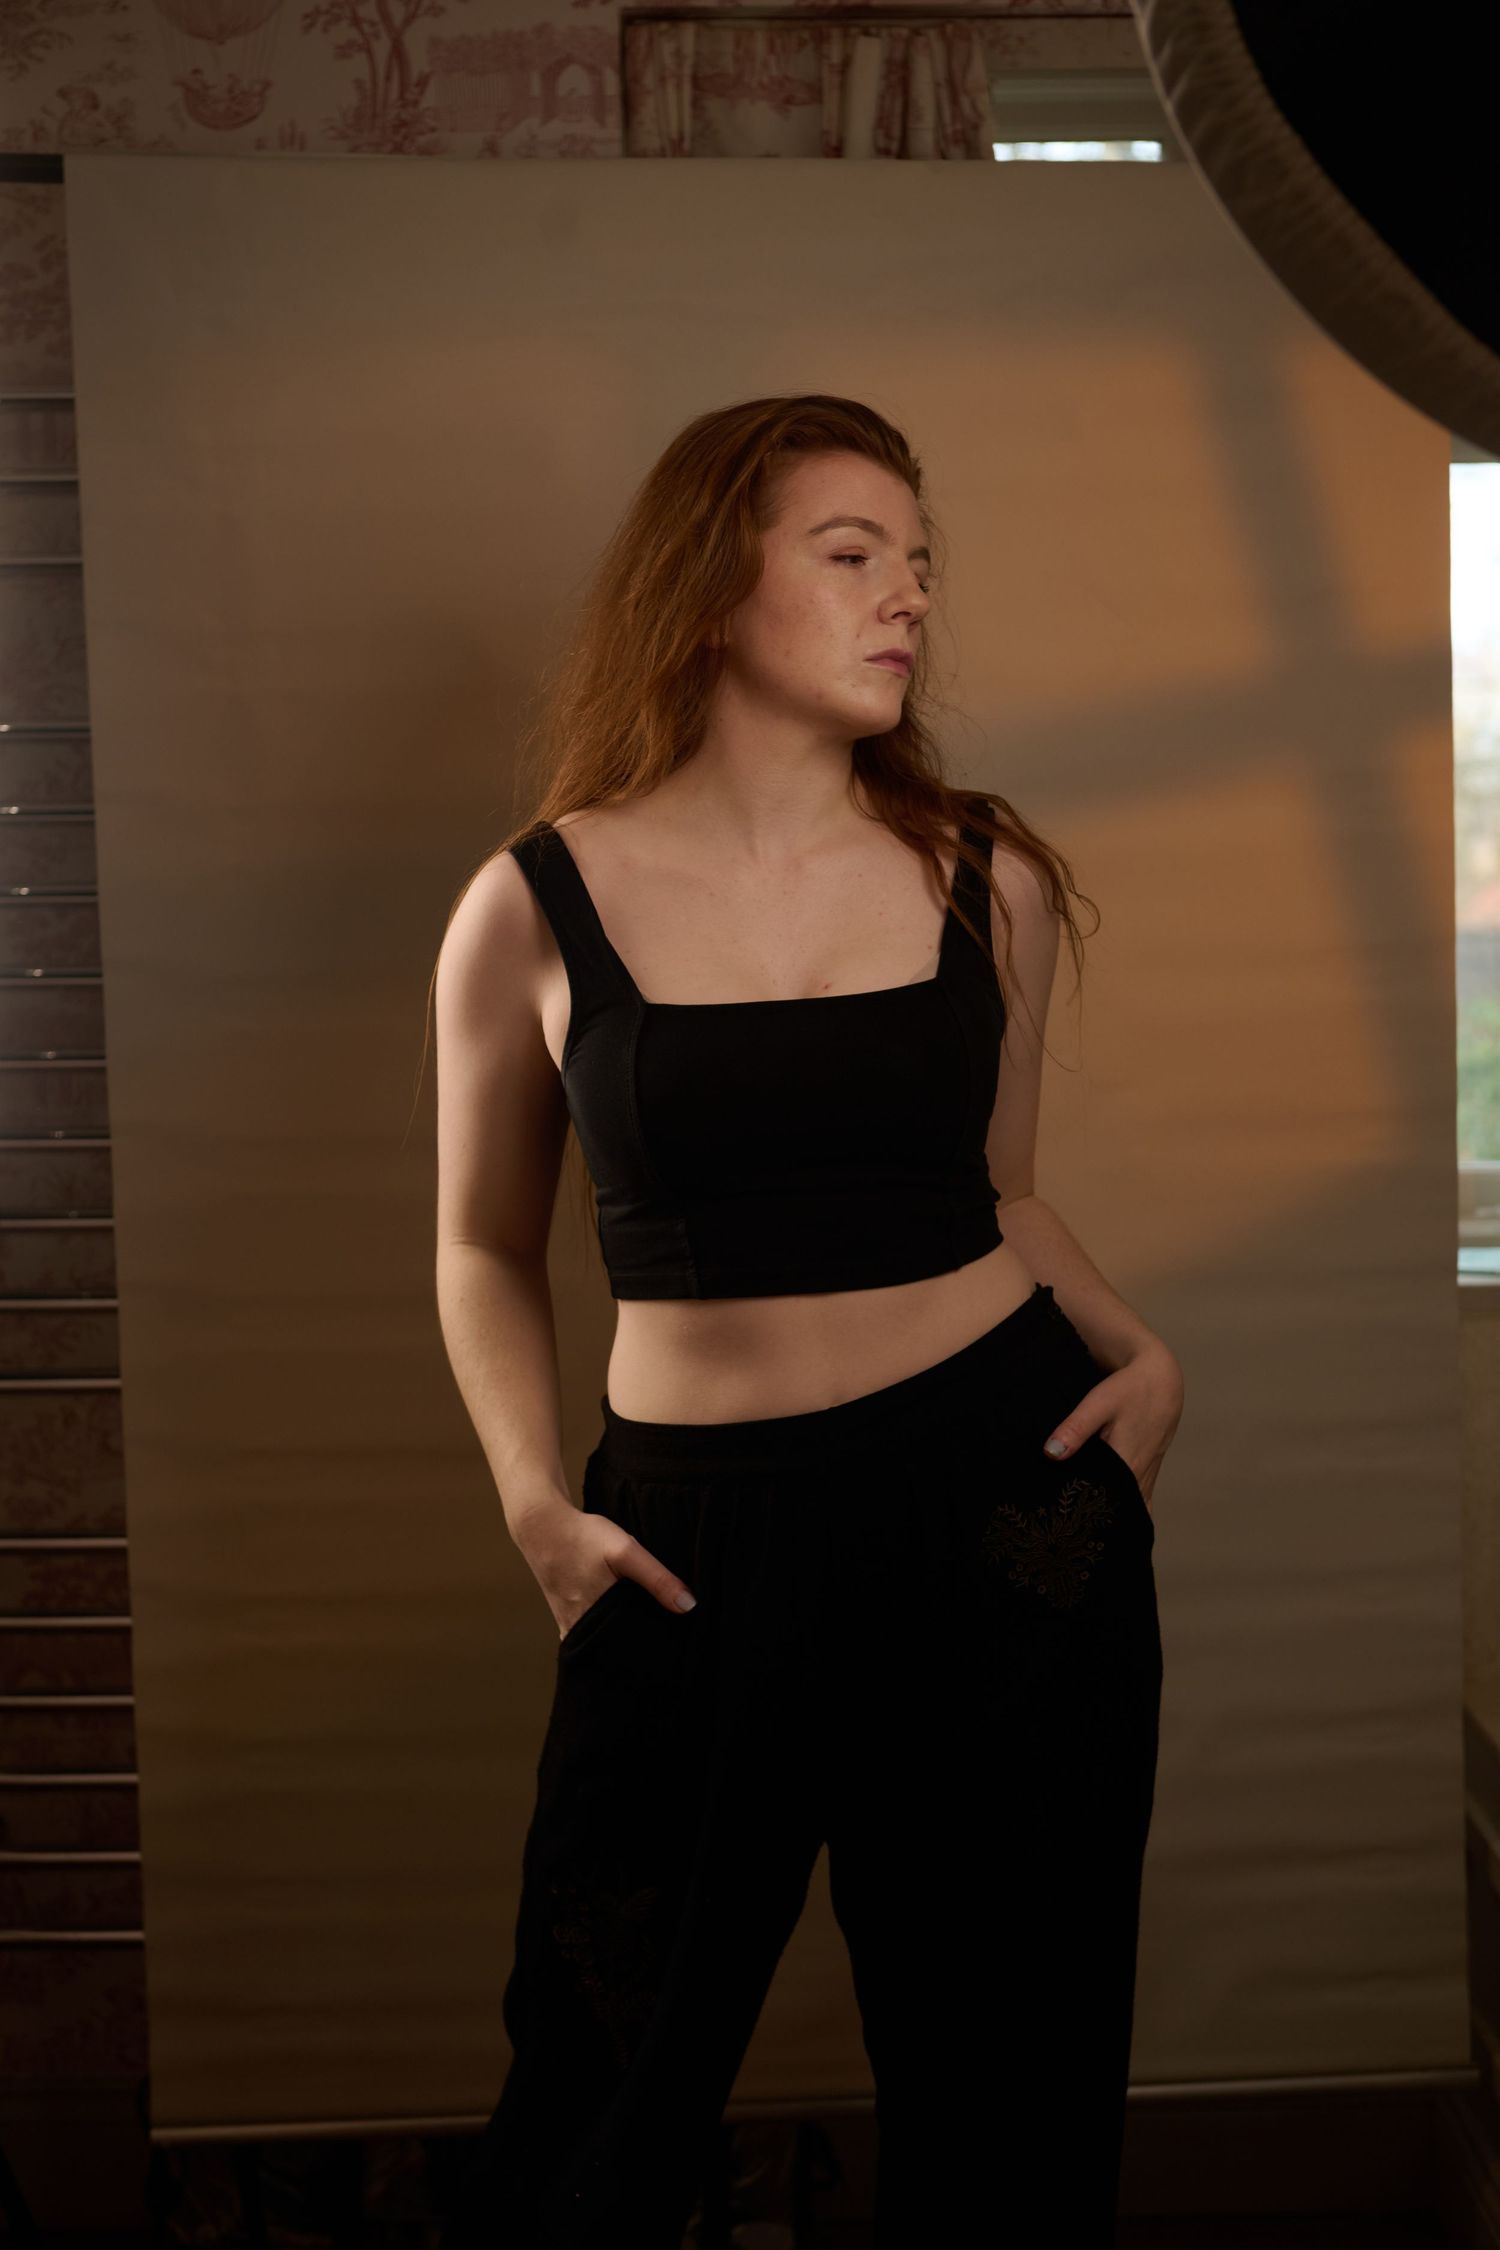
I added a third light in the background to add some interest, but I should have been standing further forwards still!
The hair light has become more of a side light and so I'm not getting the same crisp separation between me and the background as I was above...
It's not a bad photo but it doesn't say anything to me!
Set Up 2
I added my new Neewer flashlight with a 'window' gobo behind me to give some texture and interest to the background. It's not the most powerful light so I had to keep it quite close to the backdrop with the other lights around but I do like the effect of it!
It worked best in orange for this shoot. I tried some of the coloured ones and the contrast was too much and ruined the monochromatic kind of light that was already there!
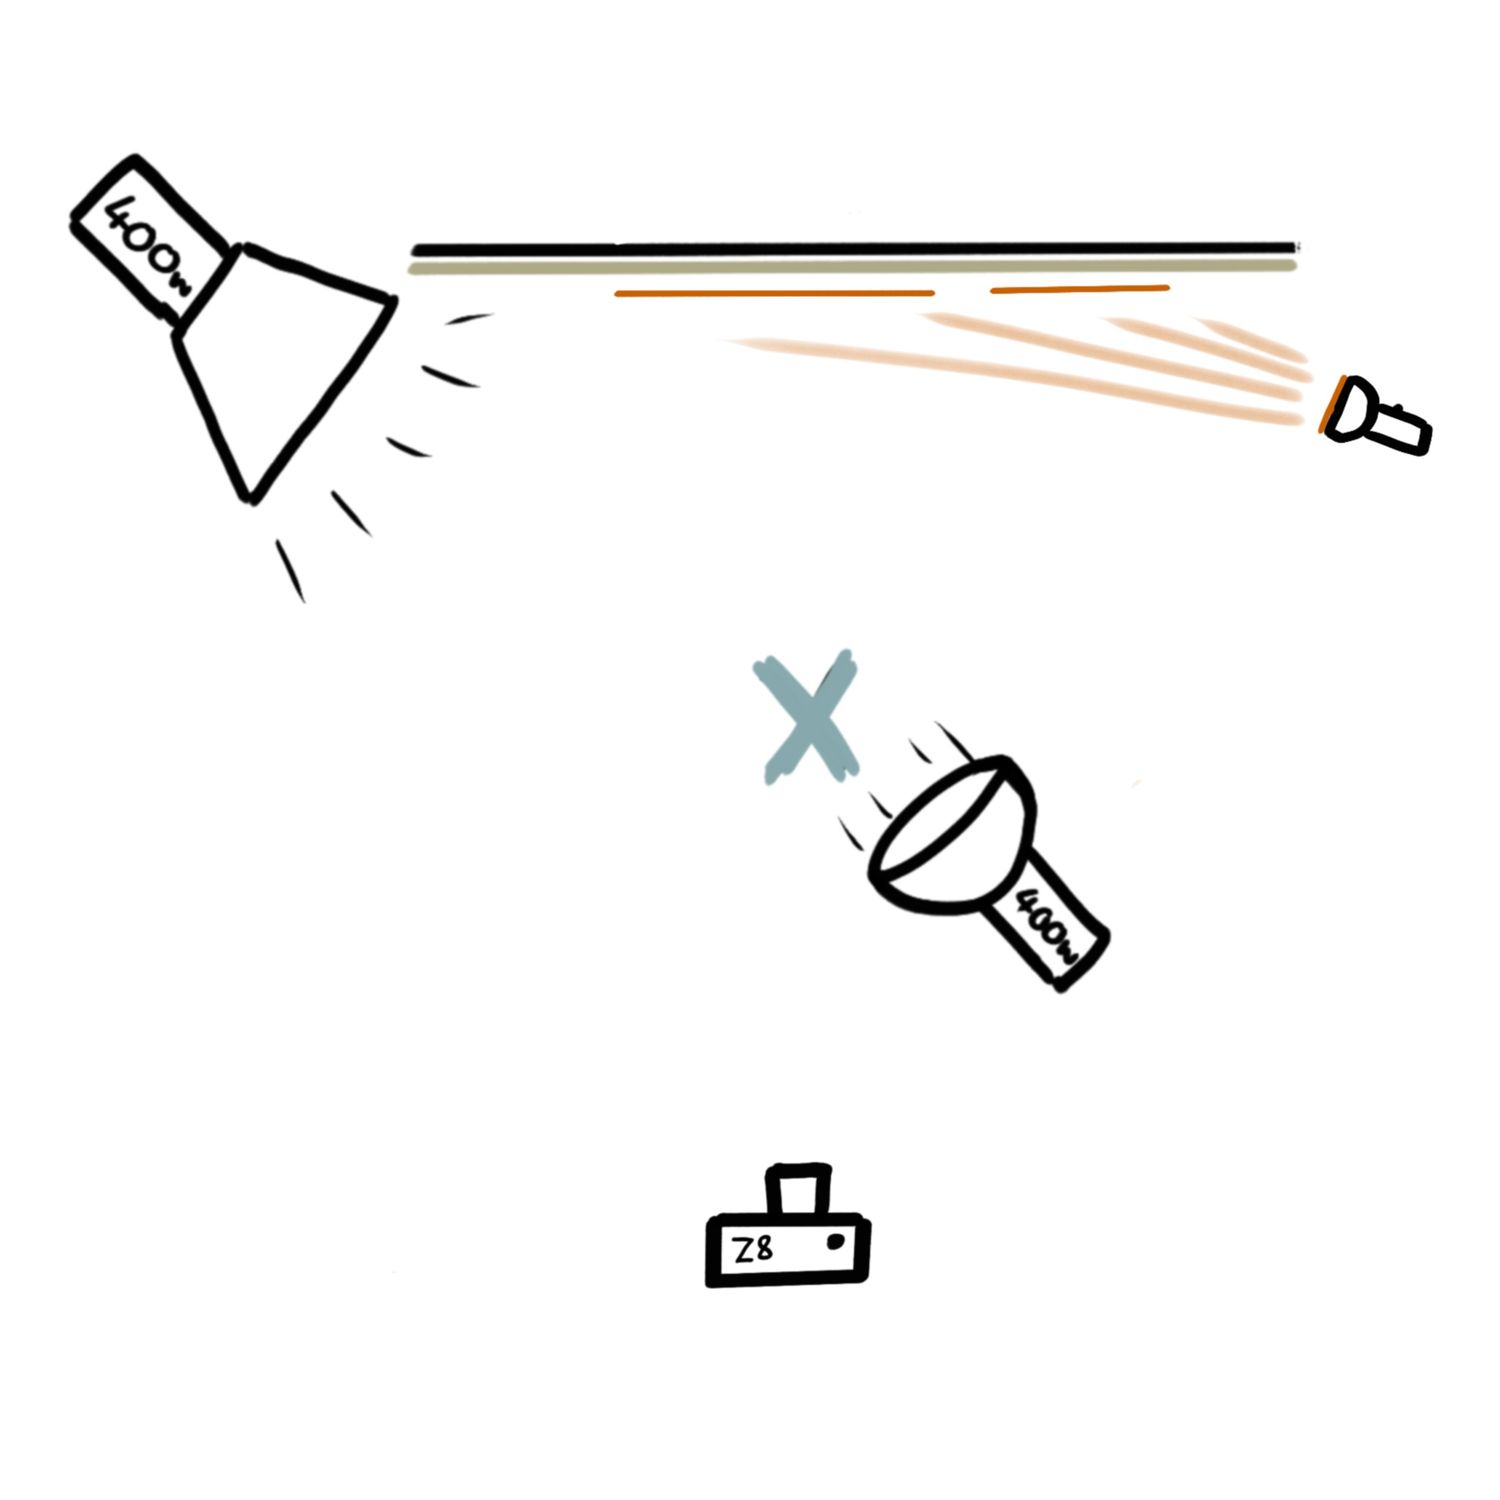
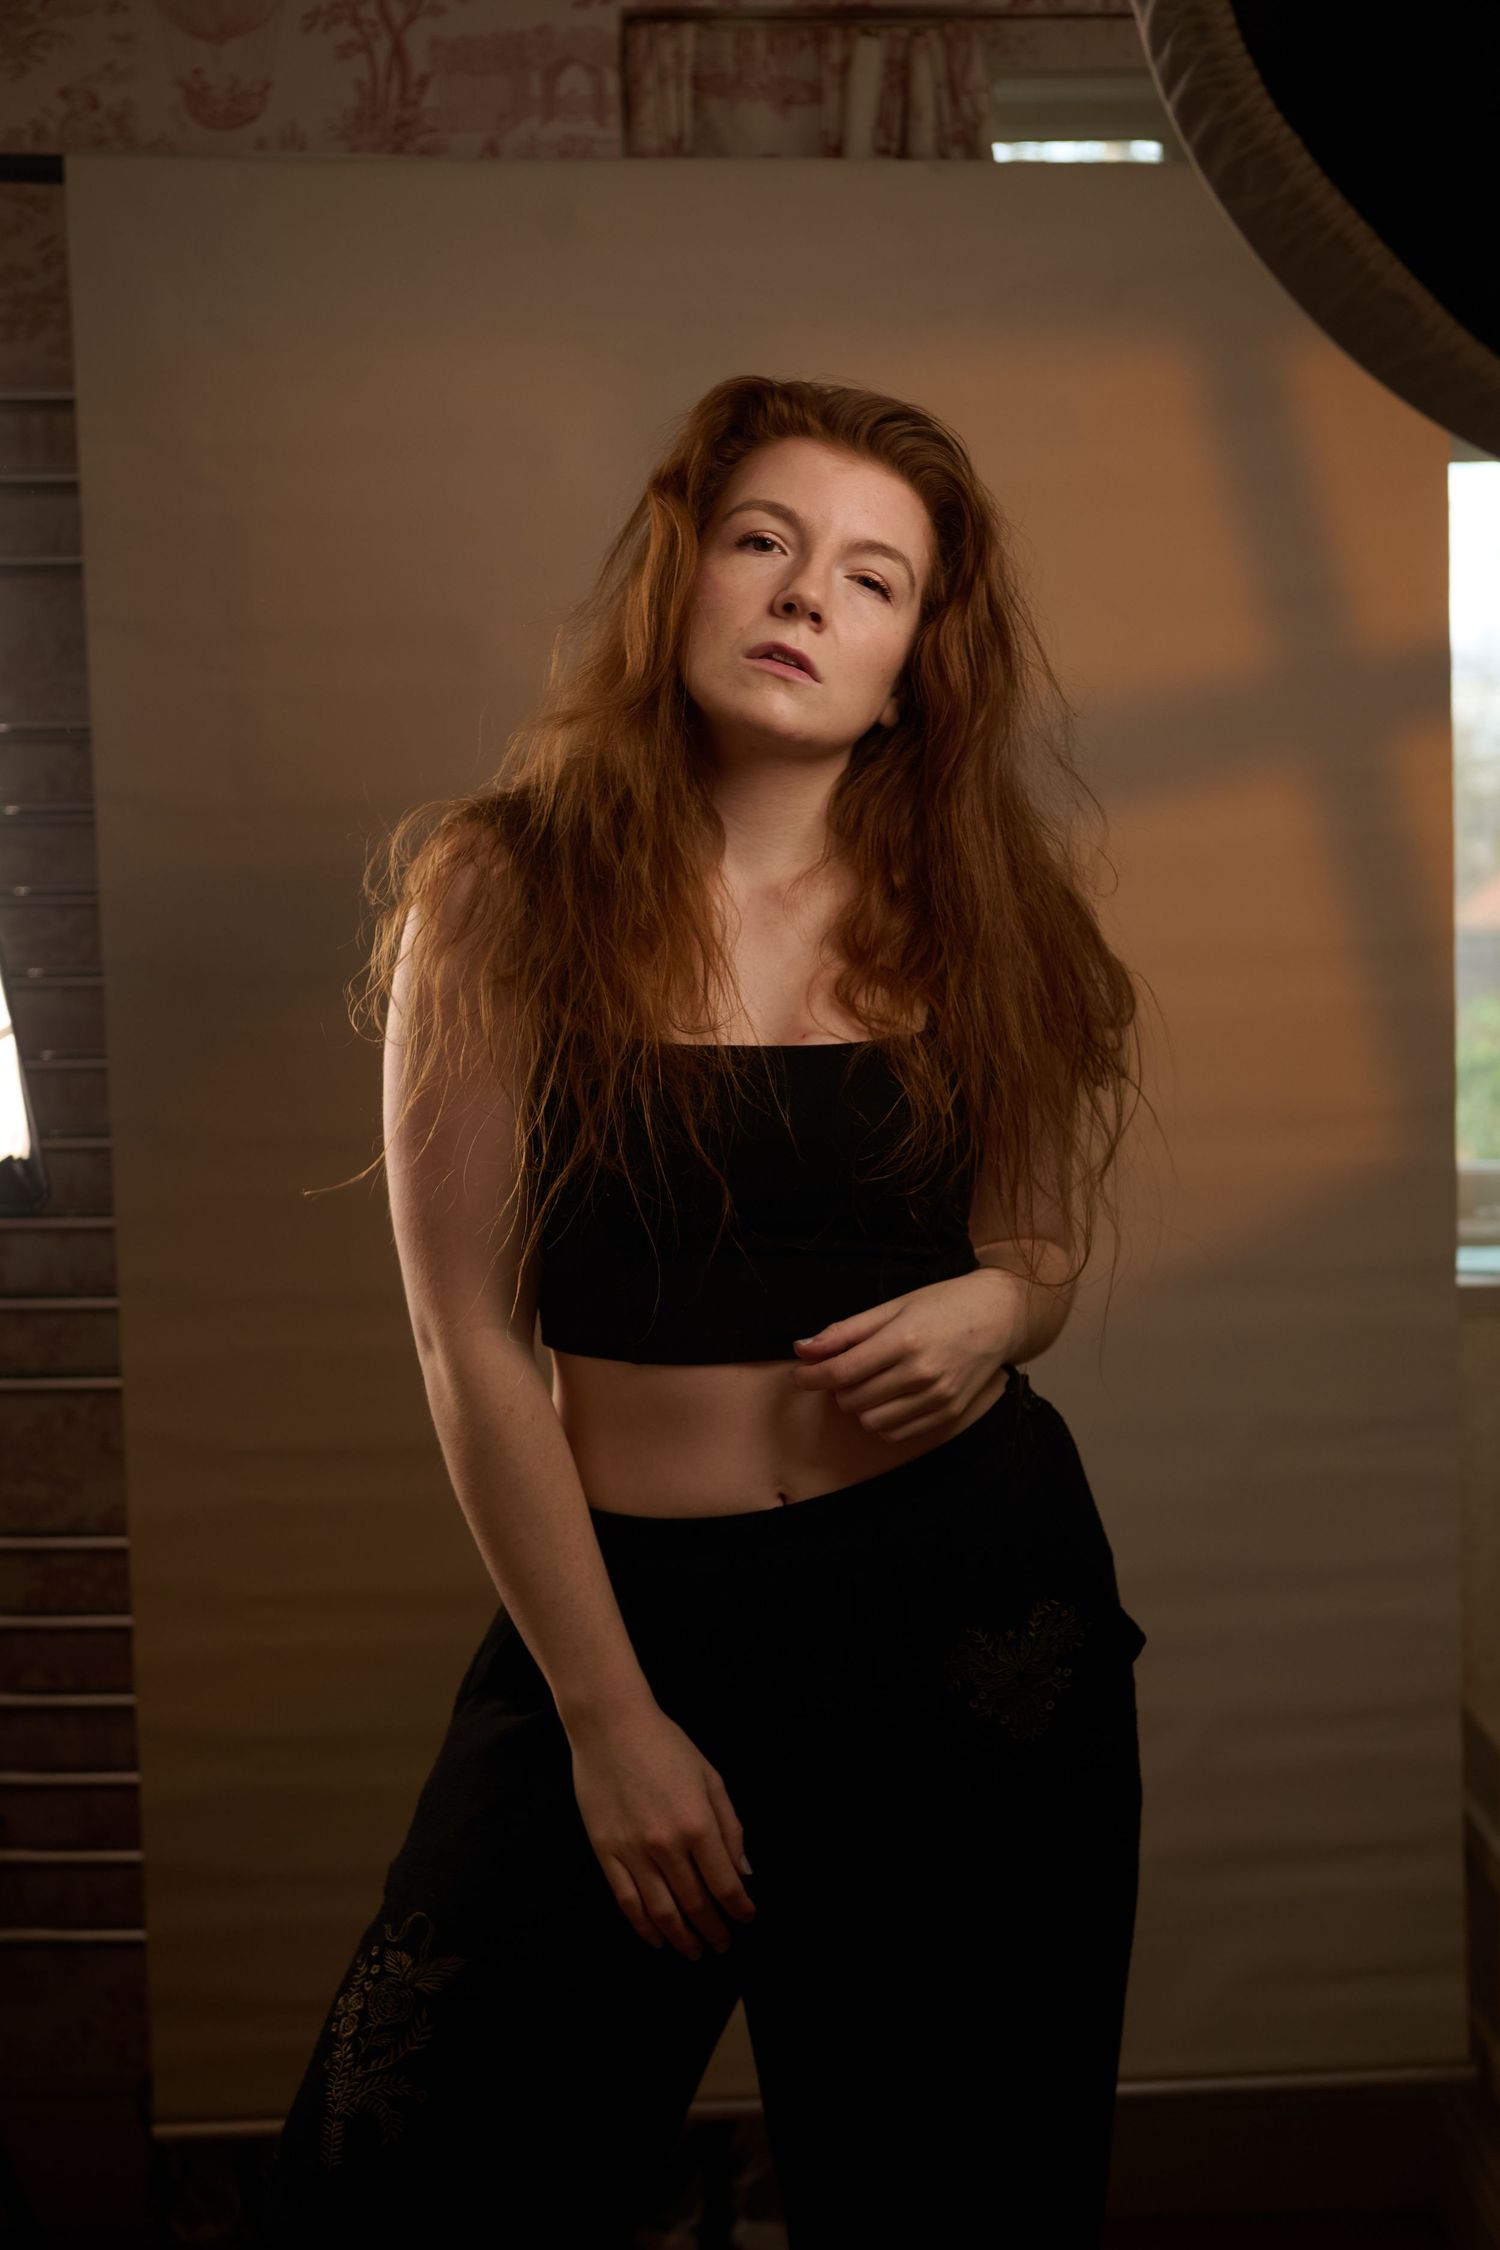
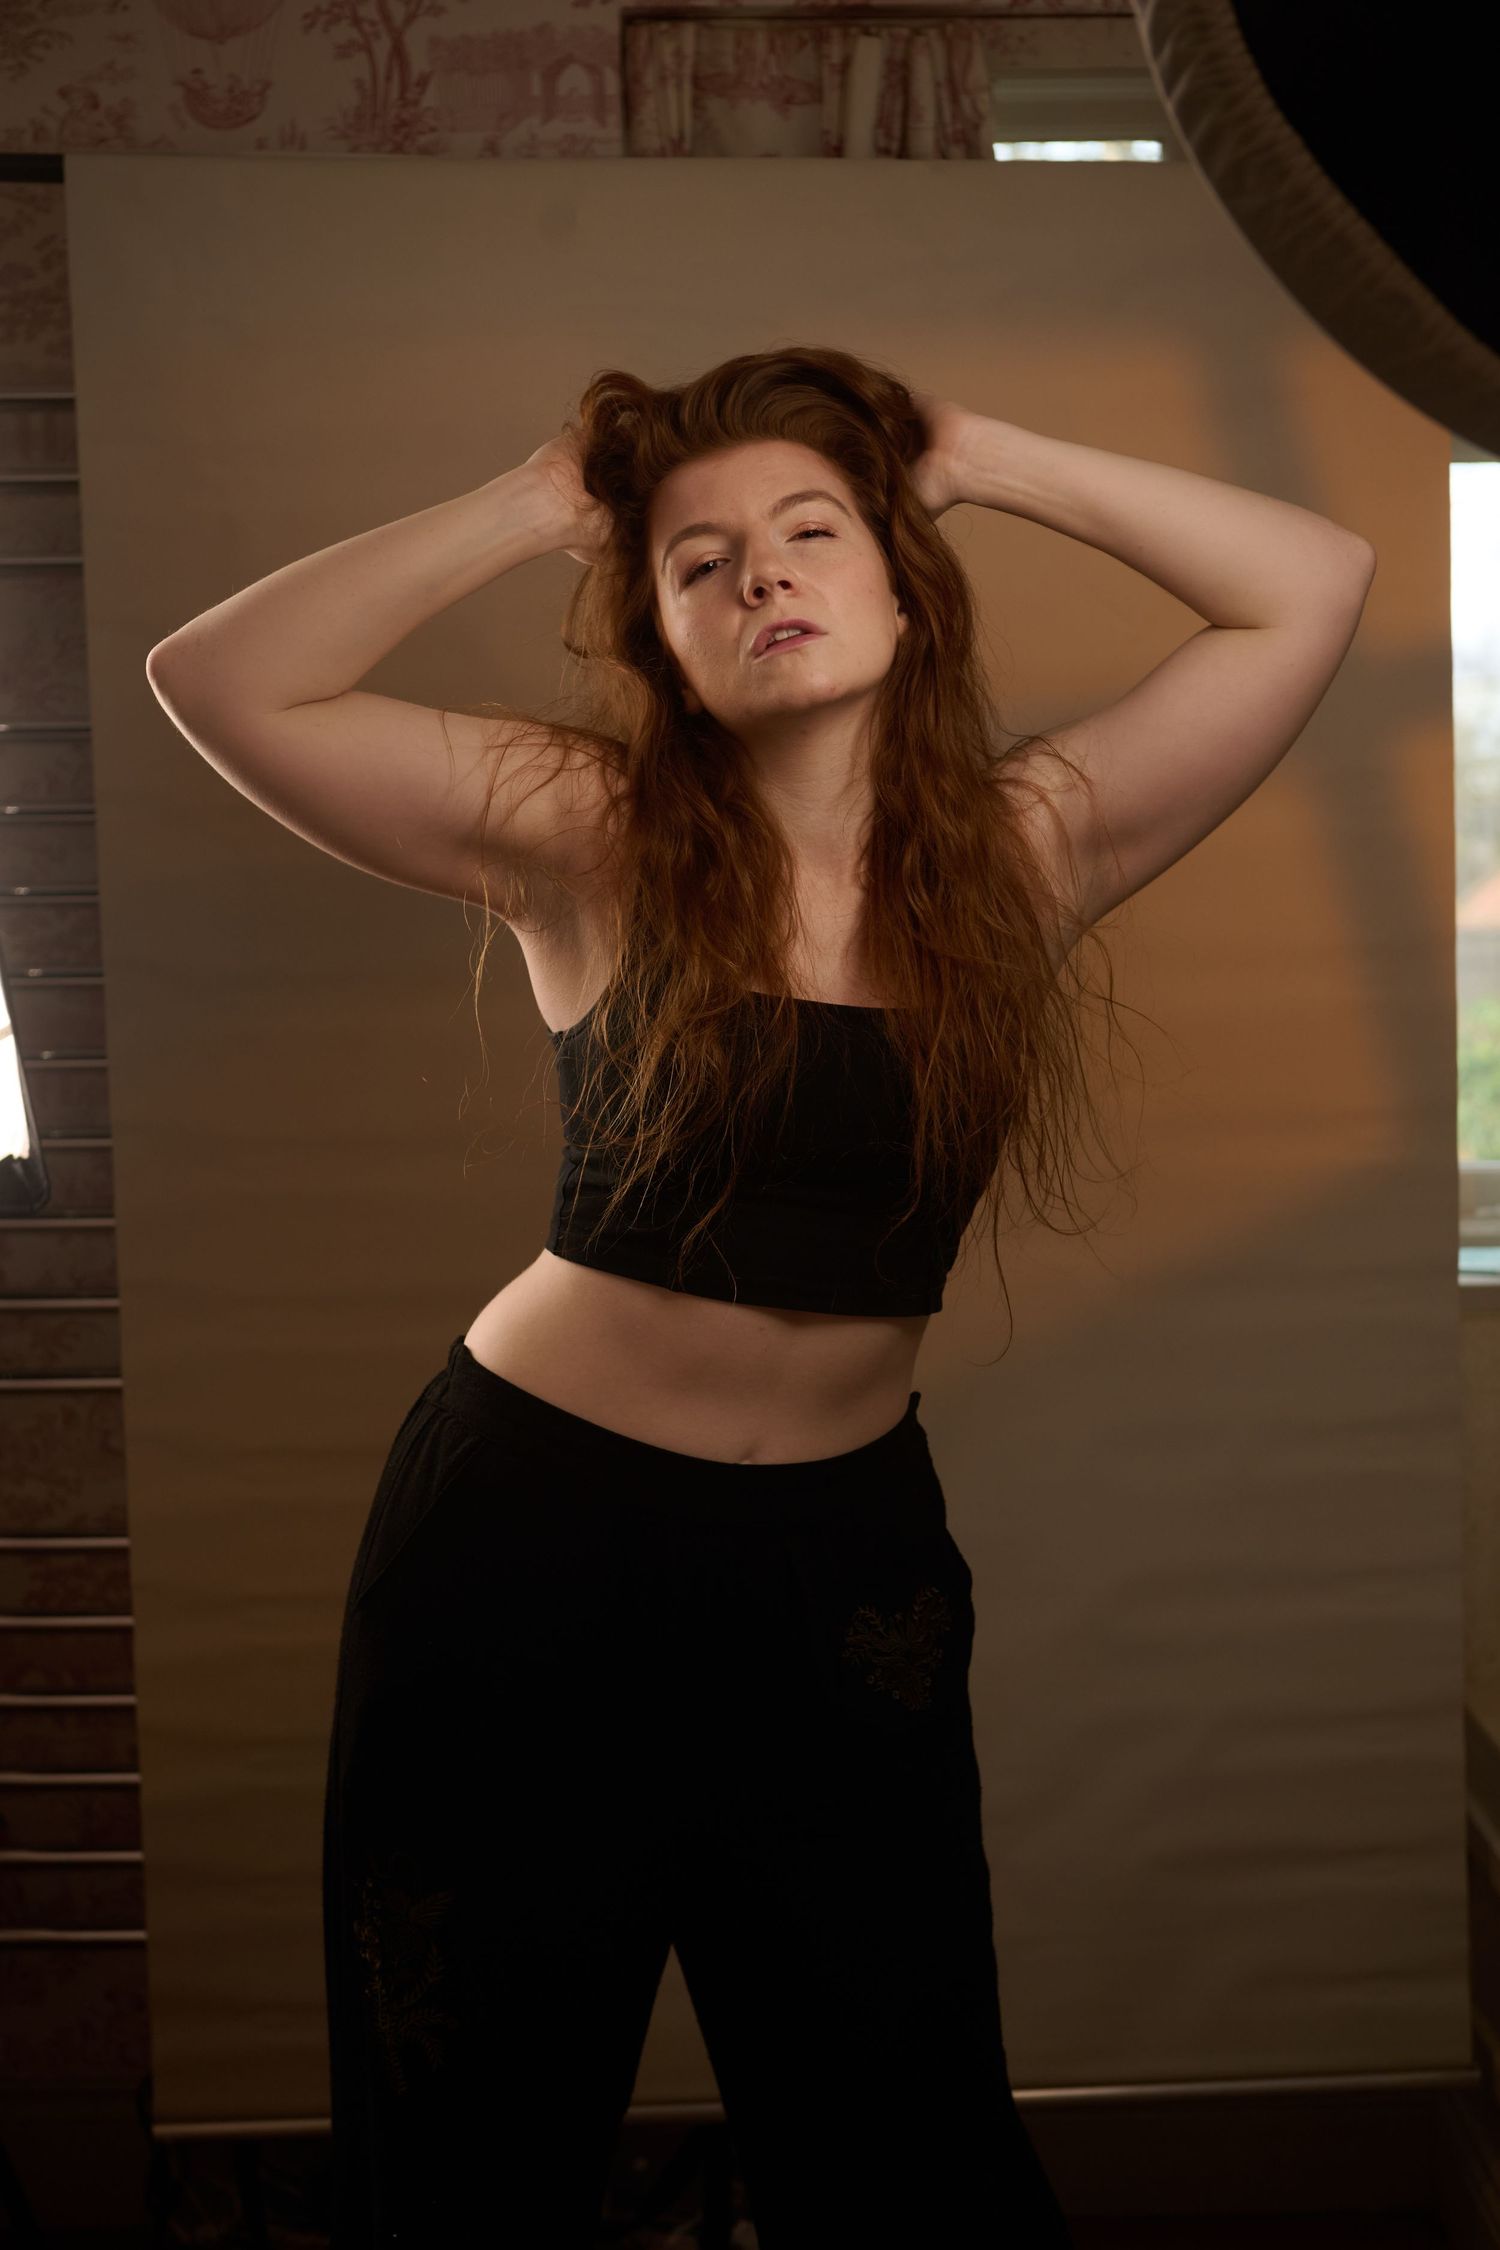
Experimenting with how much a model can move is something I like to do as part 0f light tests - for this style of shoot as long as the models face is close to the beauty dish, the model has quite a lot of choice on how to move!
For the best photo results, tipping my chin up and looking into the light made it even softer, with a lovely shadow for the jawline!
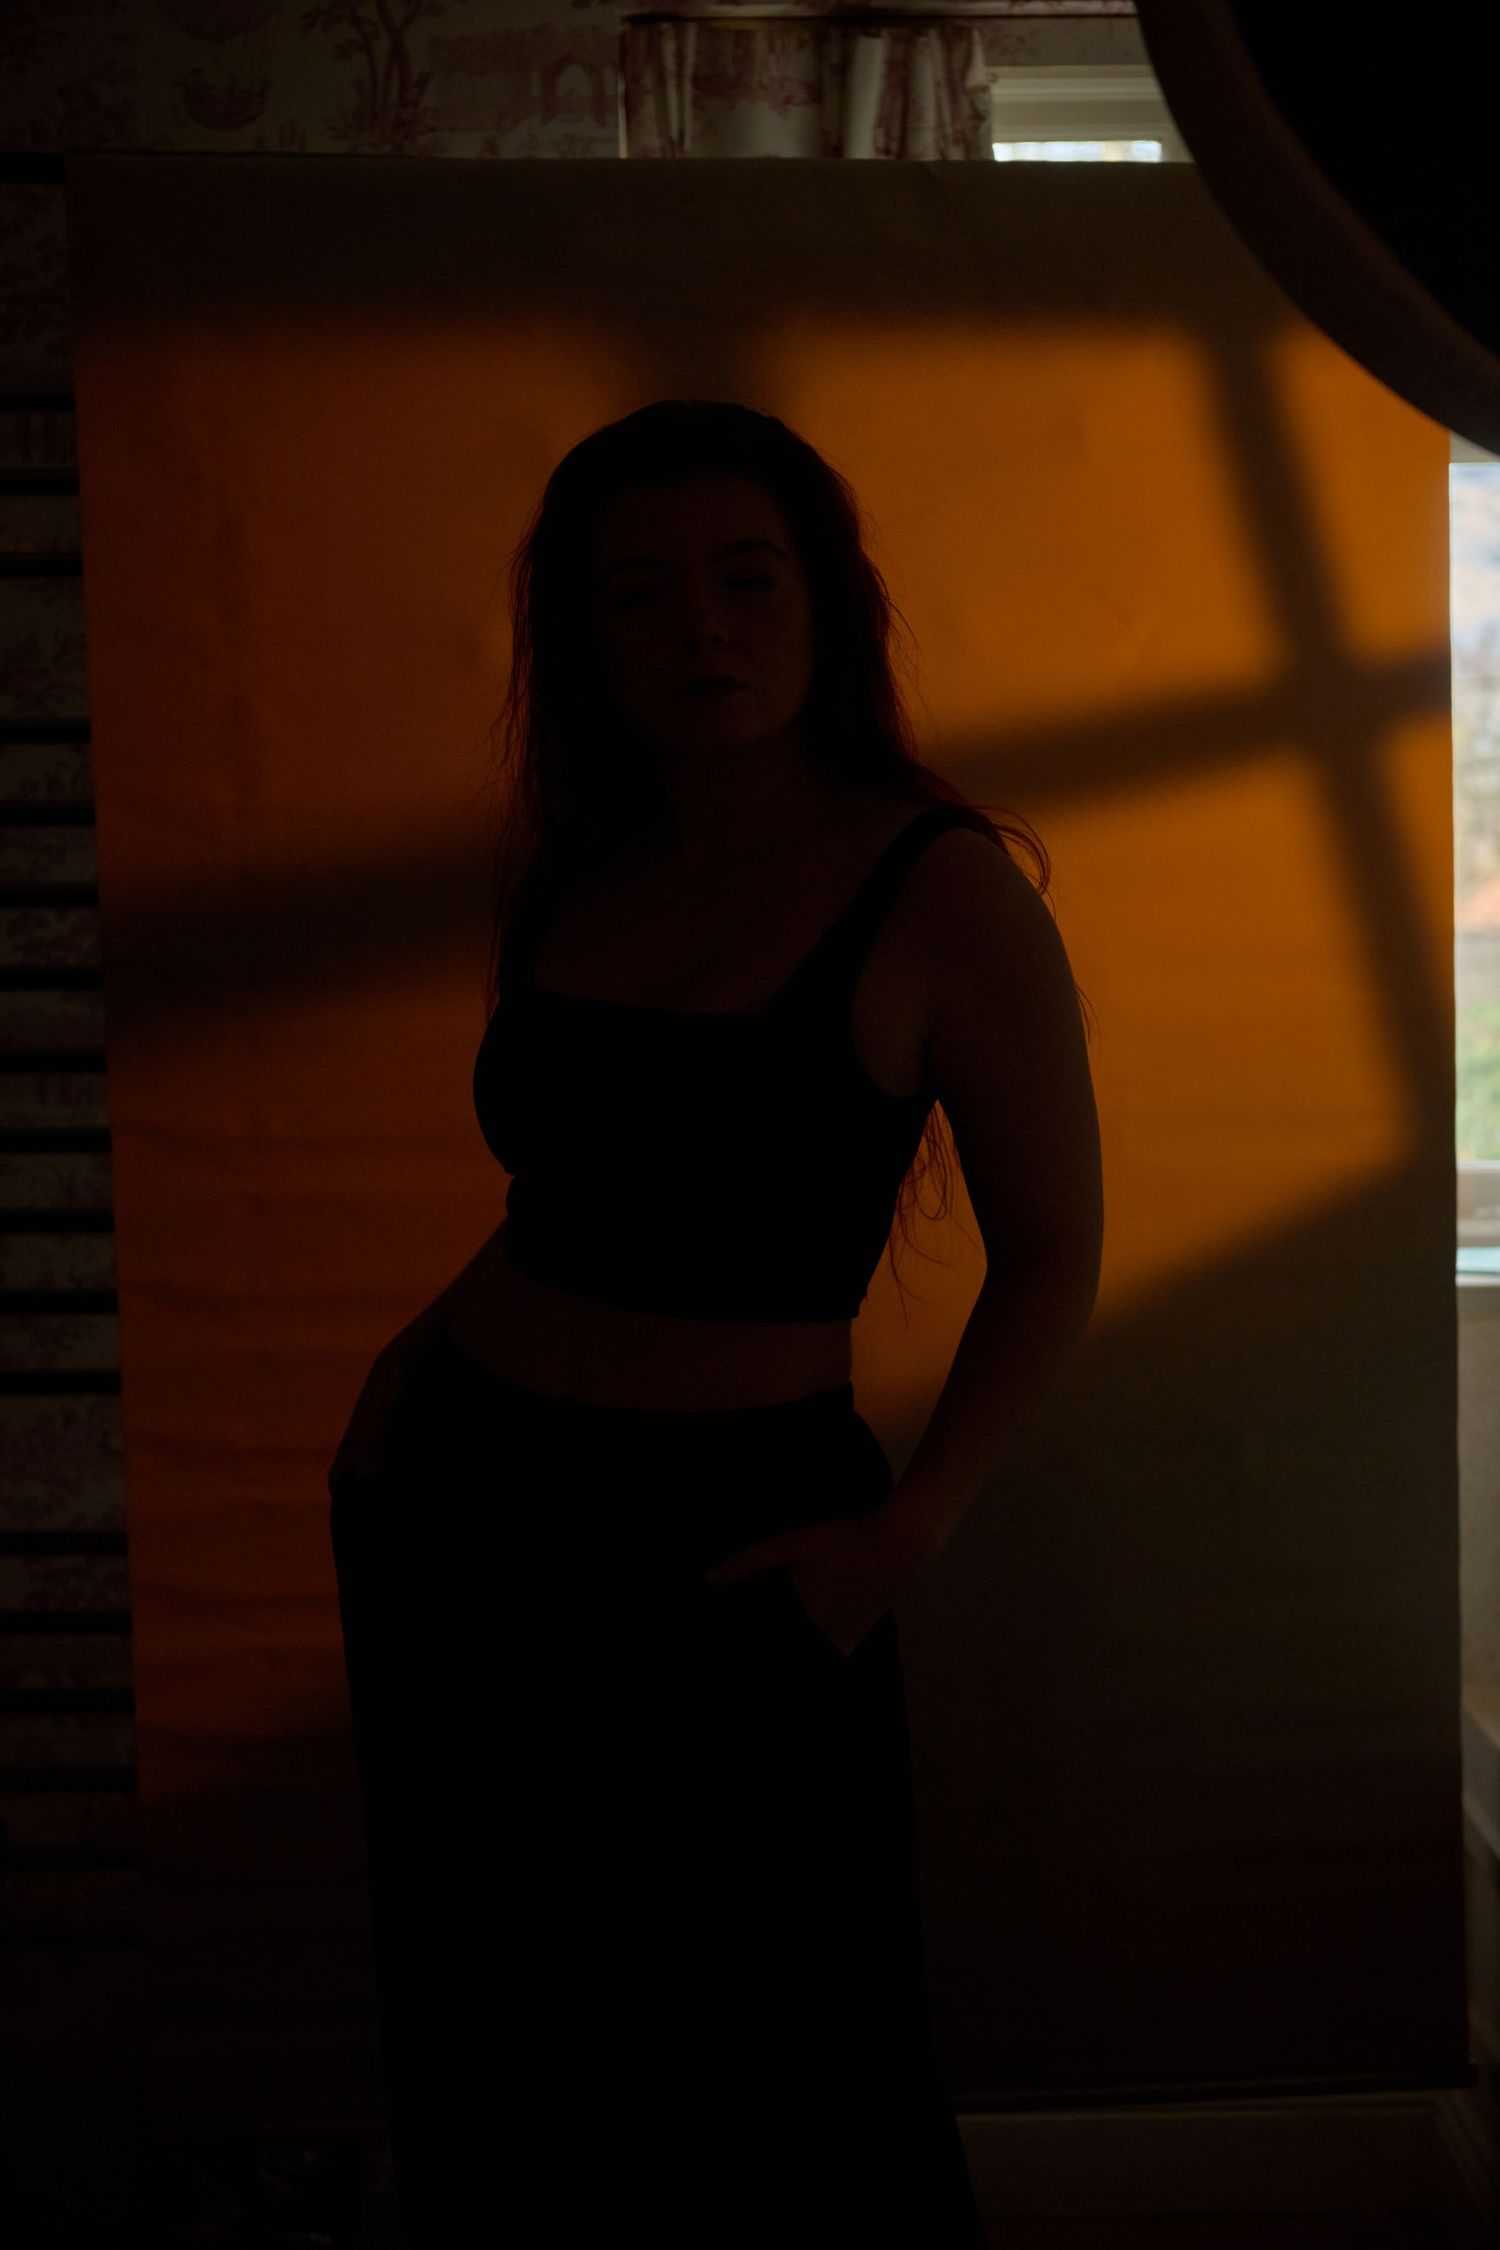
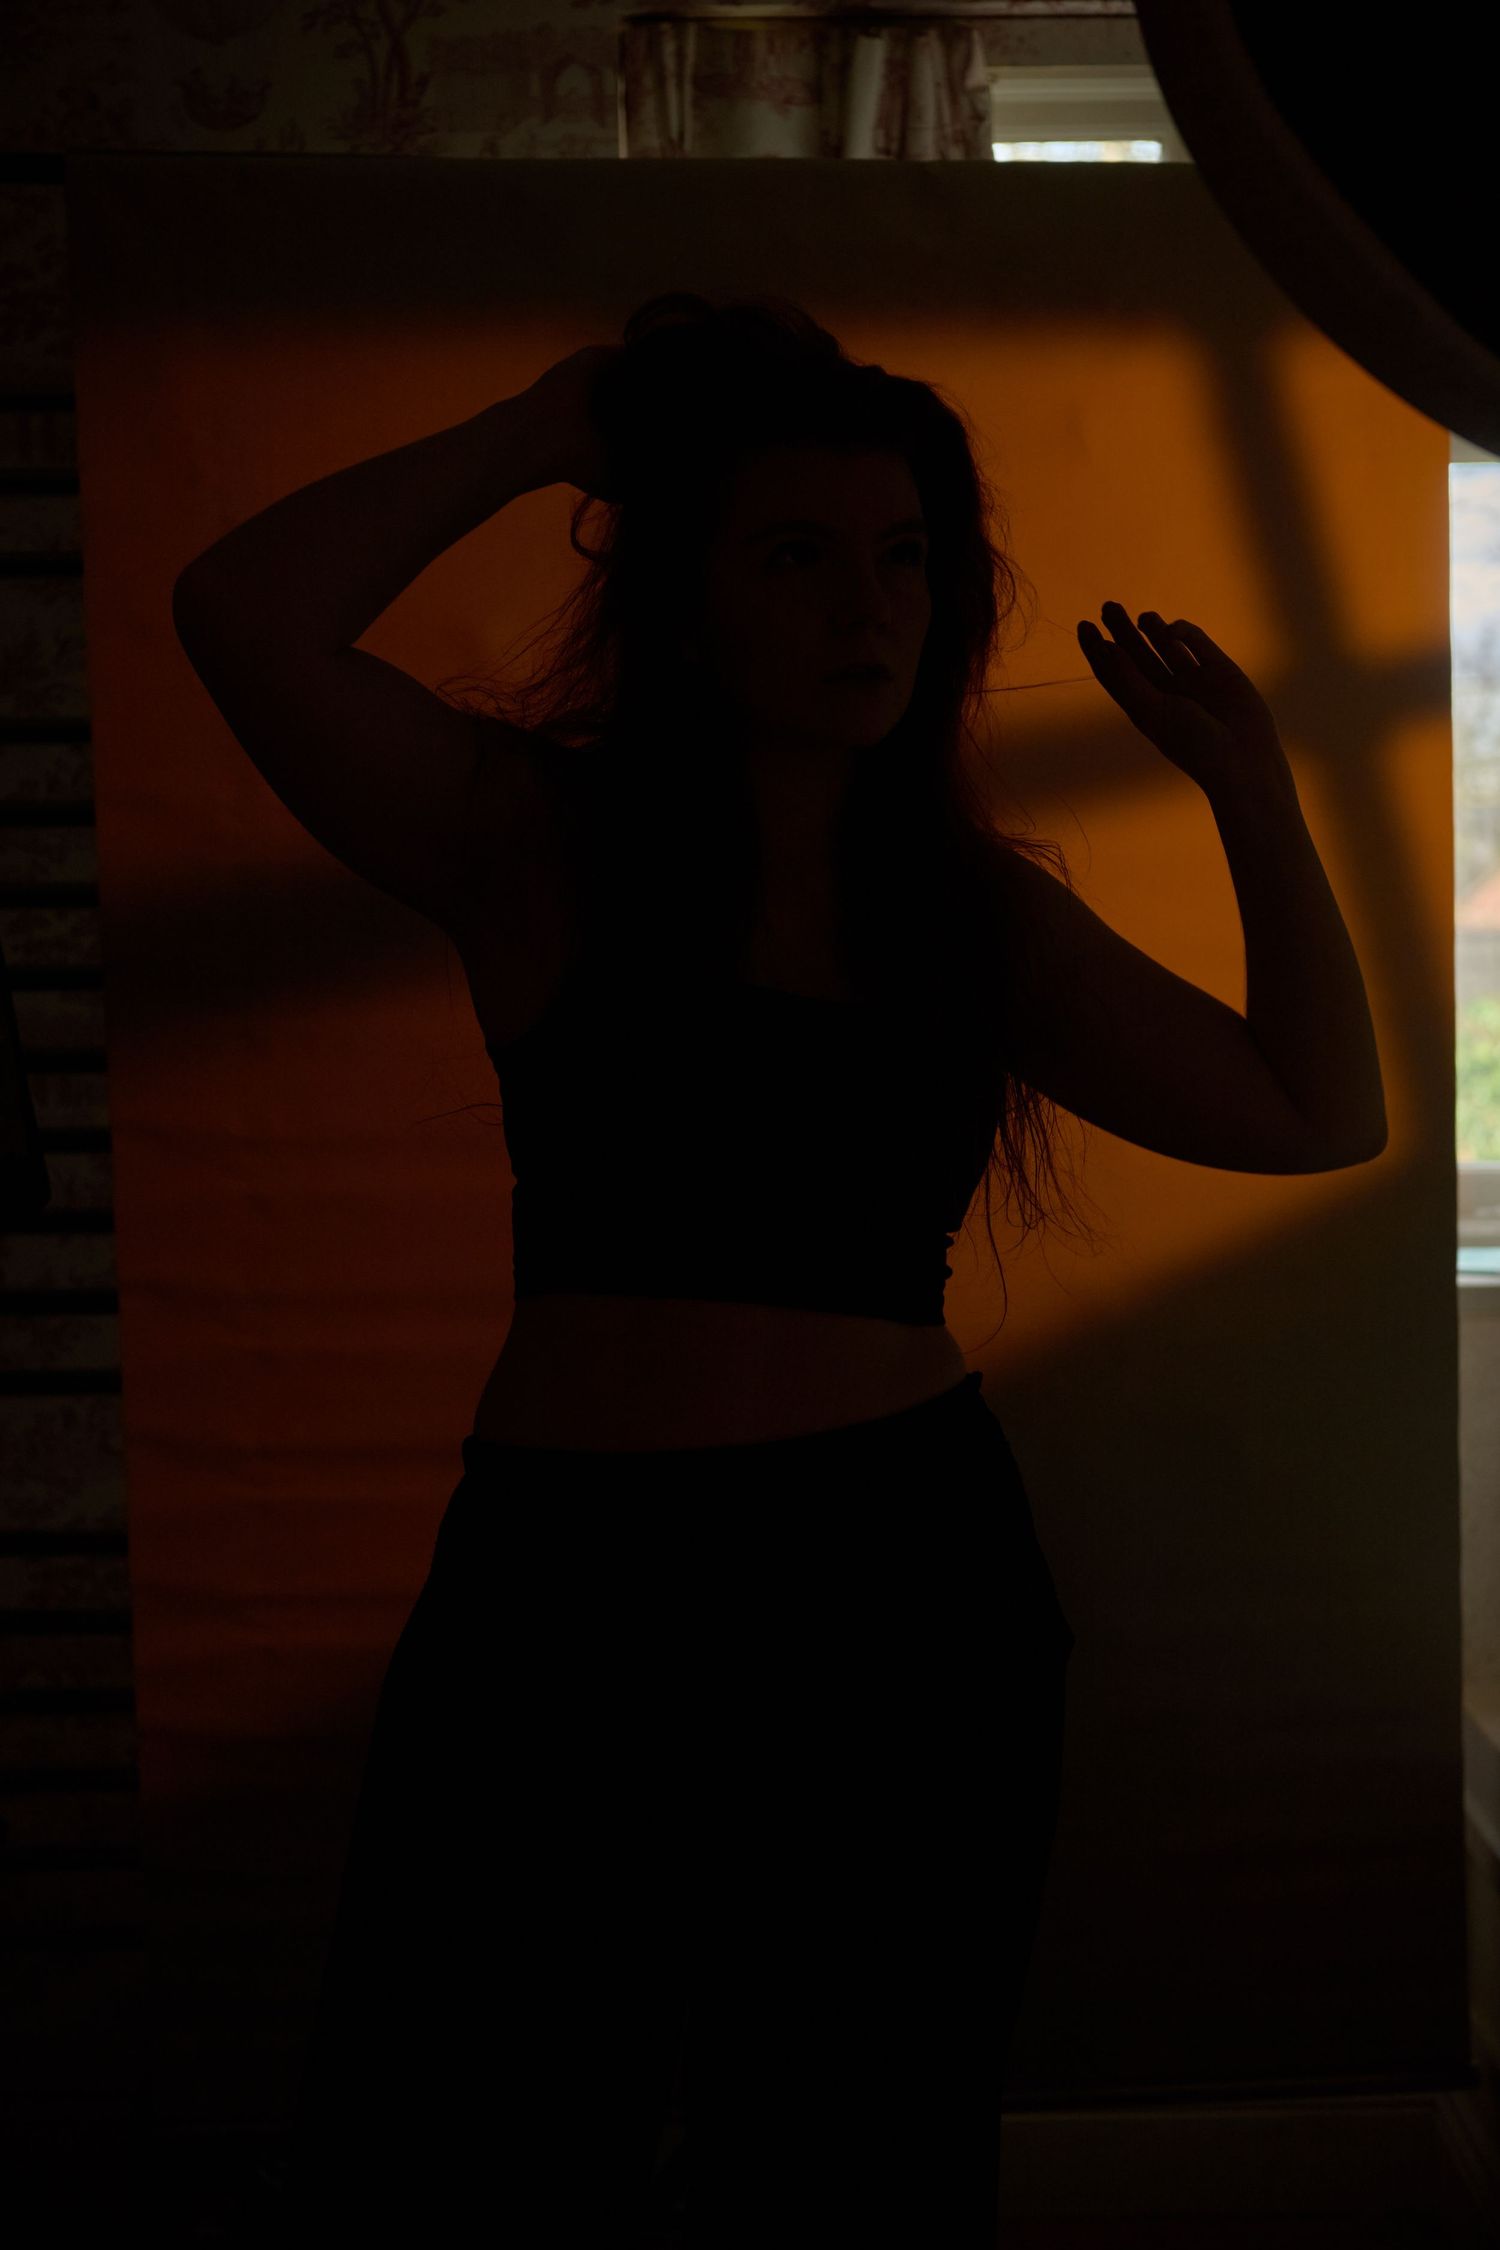
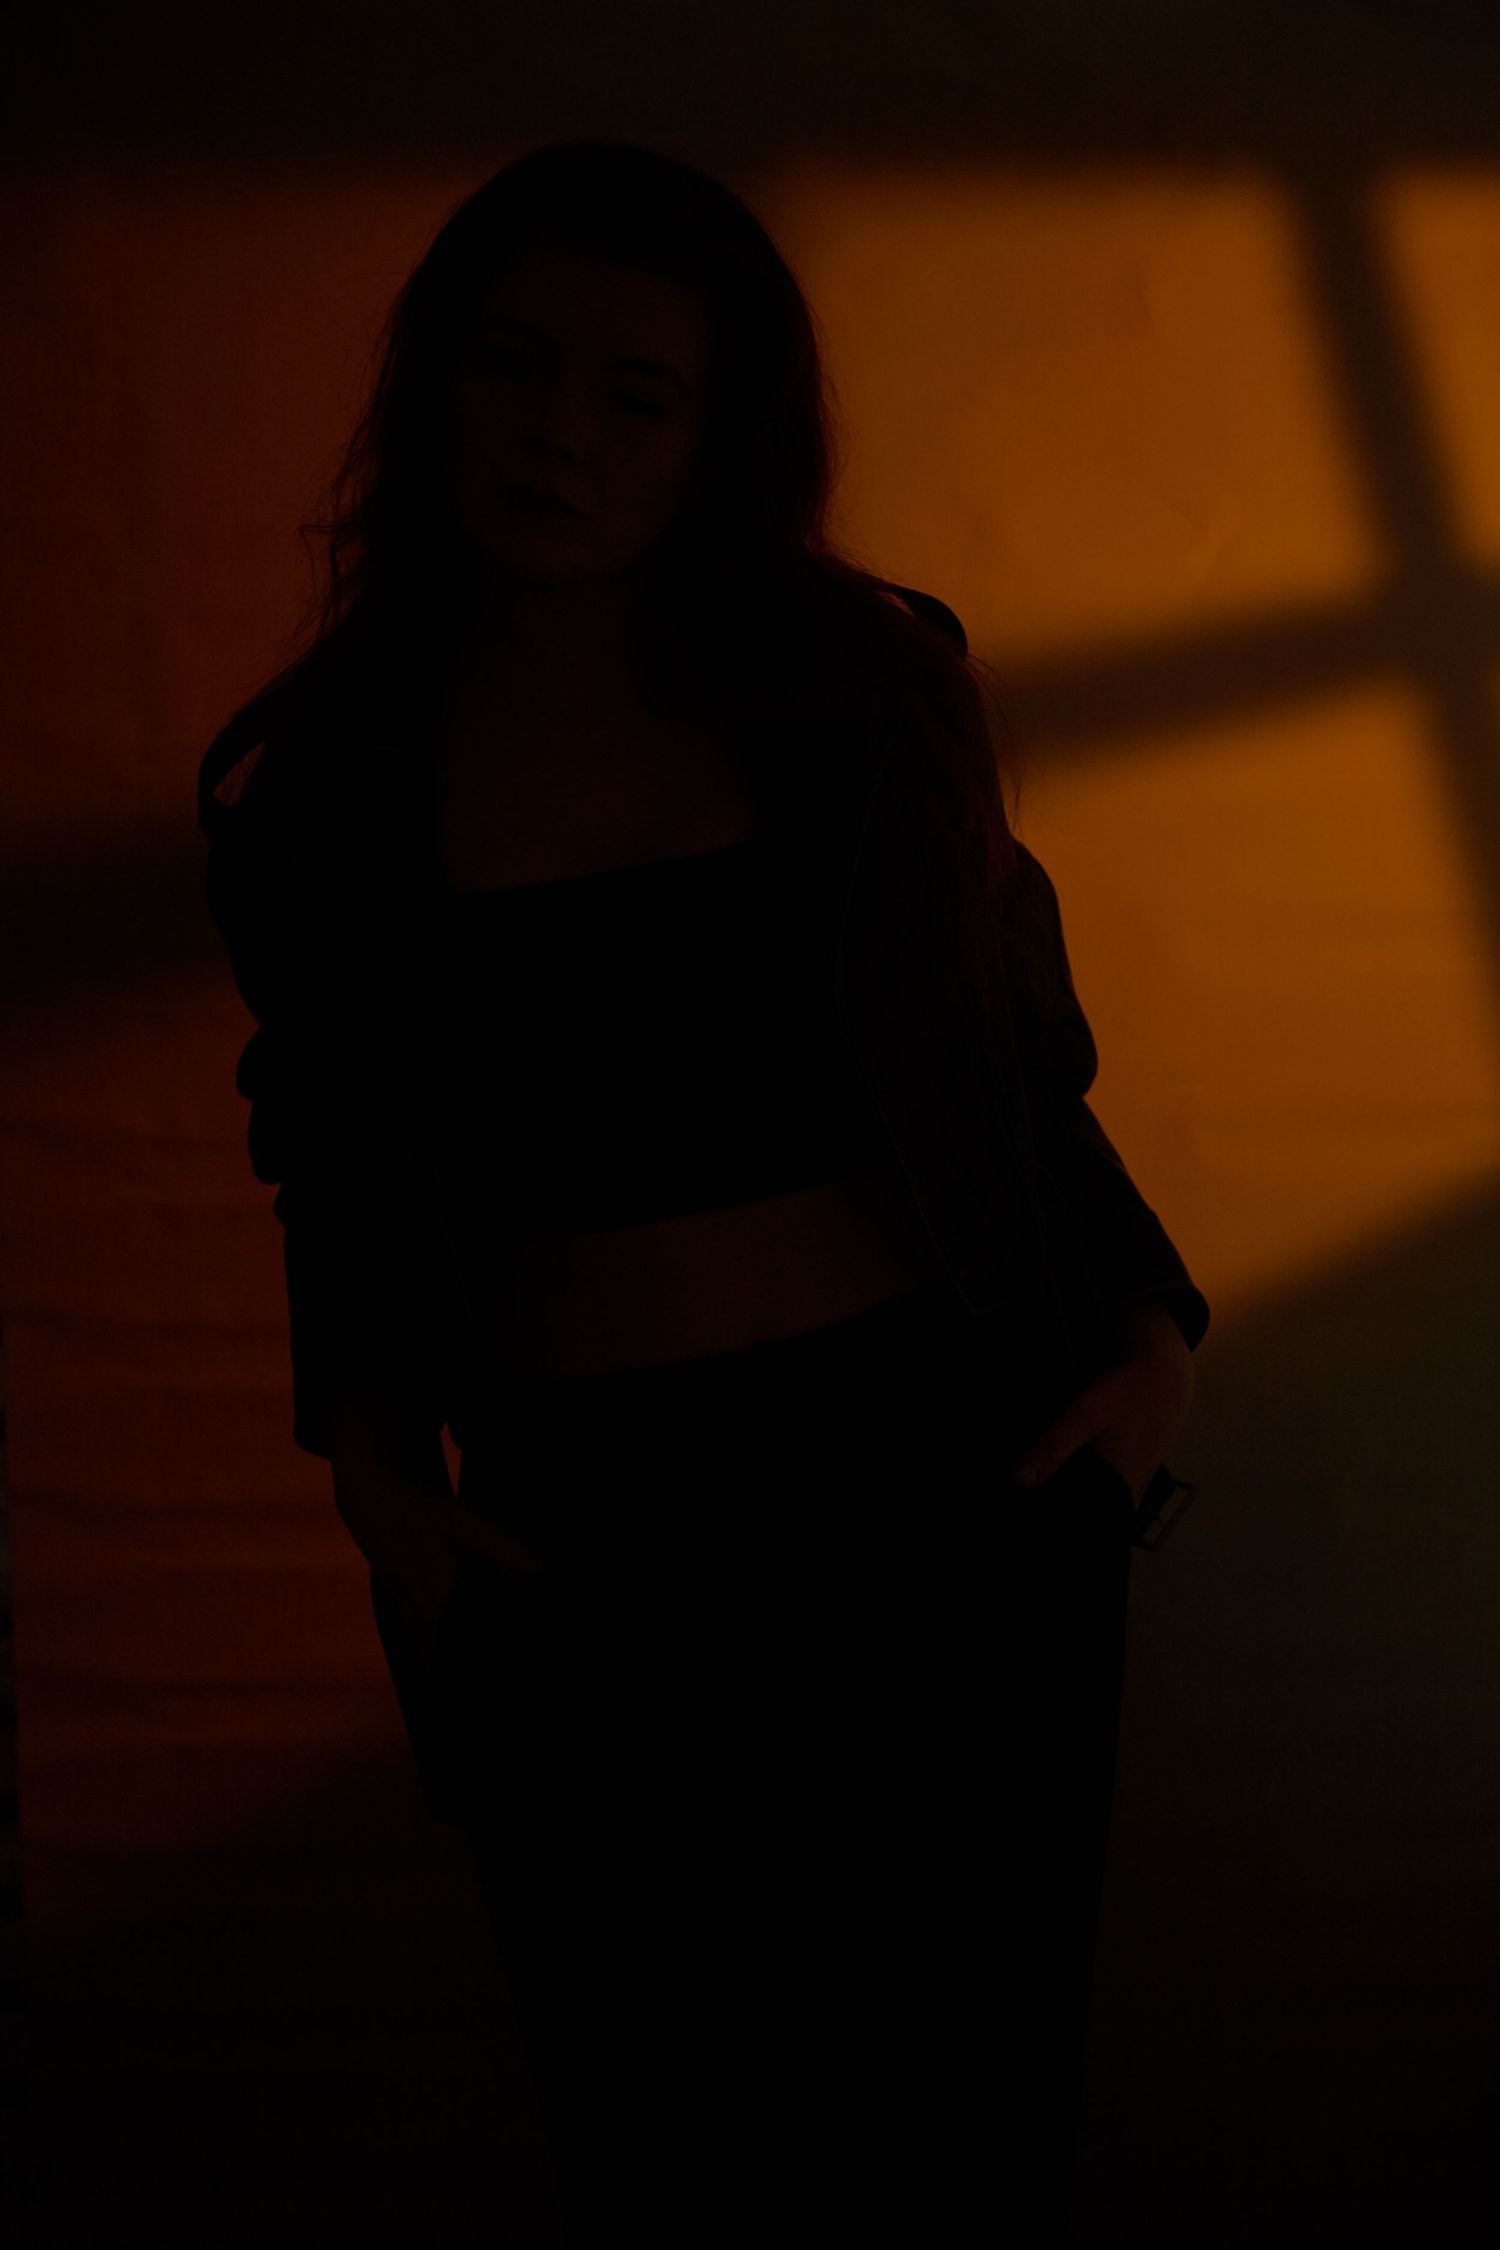
My 'happy accident' of this lighting set up was a few times when the main lights didn't flash I got this super cool shadow silhouette effect which is something I'd like to do more with in future! It's cool things like this that make lighting tests worth it.
"Self-portraits are a fabulous mix of happy accidents and years of practice."
Set Up 3
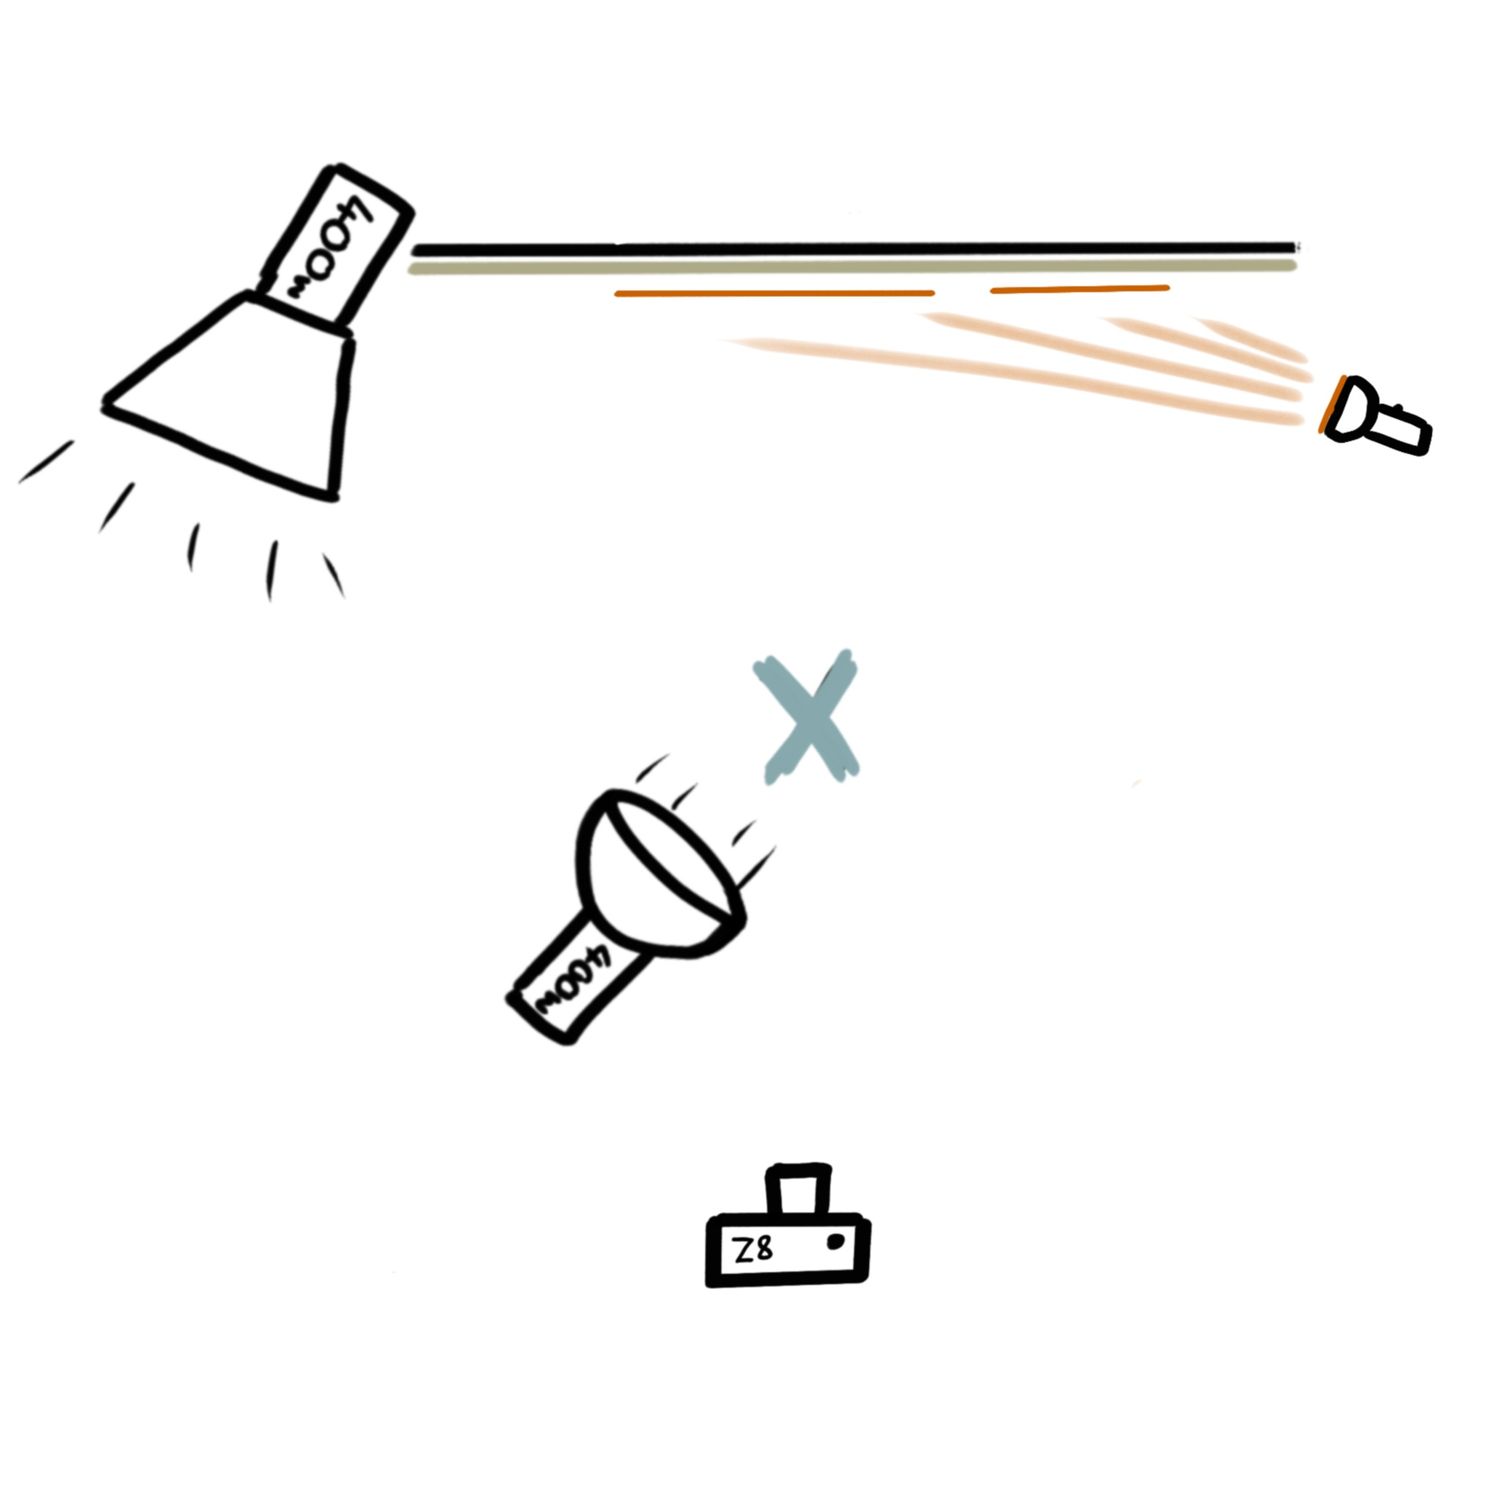
I spun the background hair light 45 degrees away from me, so it stops being a harsh line on the model, and more a soft fill glow from behind.
It's worth noting that there's a large mirror of to the left of the images which wouldn't be present in most studios, but it means that slightly more directional light will be bouncing back around the room than if there was a nice white wall to diffuse it!
I've moved the beauty dish to the other side of the image so ALL the main lights are now on the left too, to look at how softly the shadows can move across the room.
I've also added a jacket for some interest, and some added testing on how fabric and colour work with the lighting.
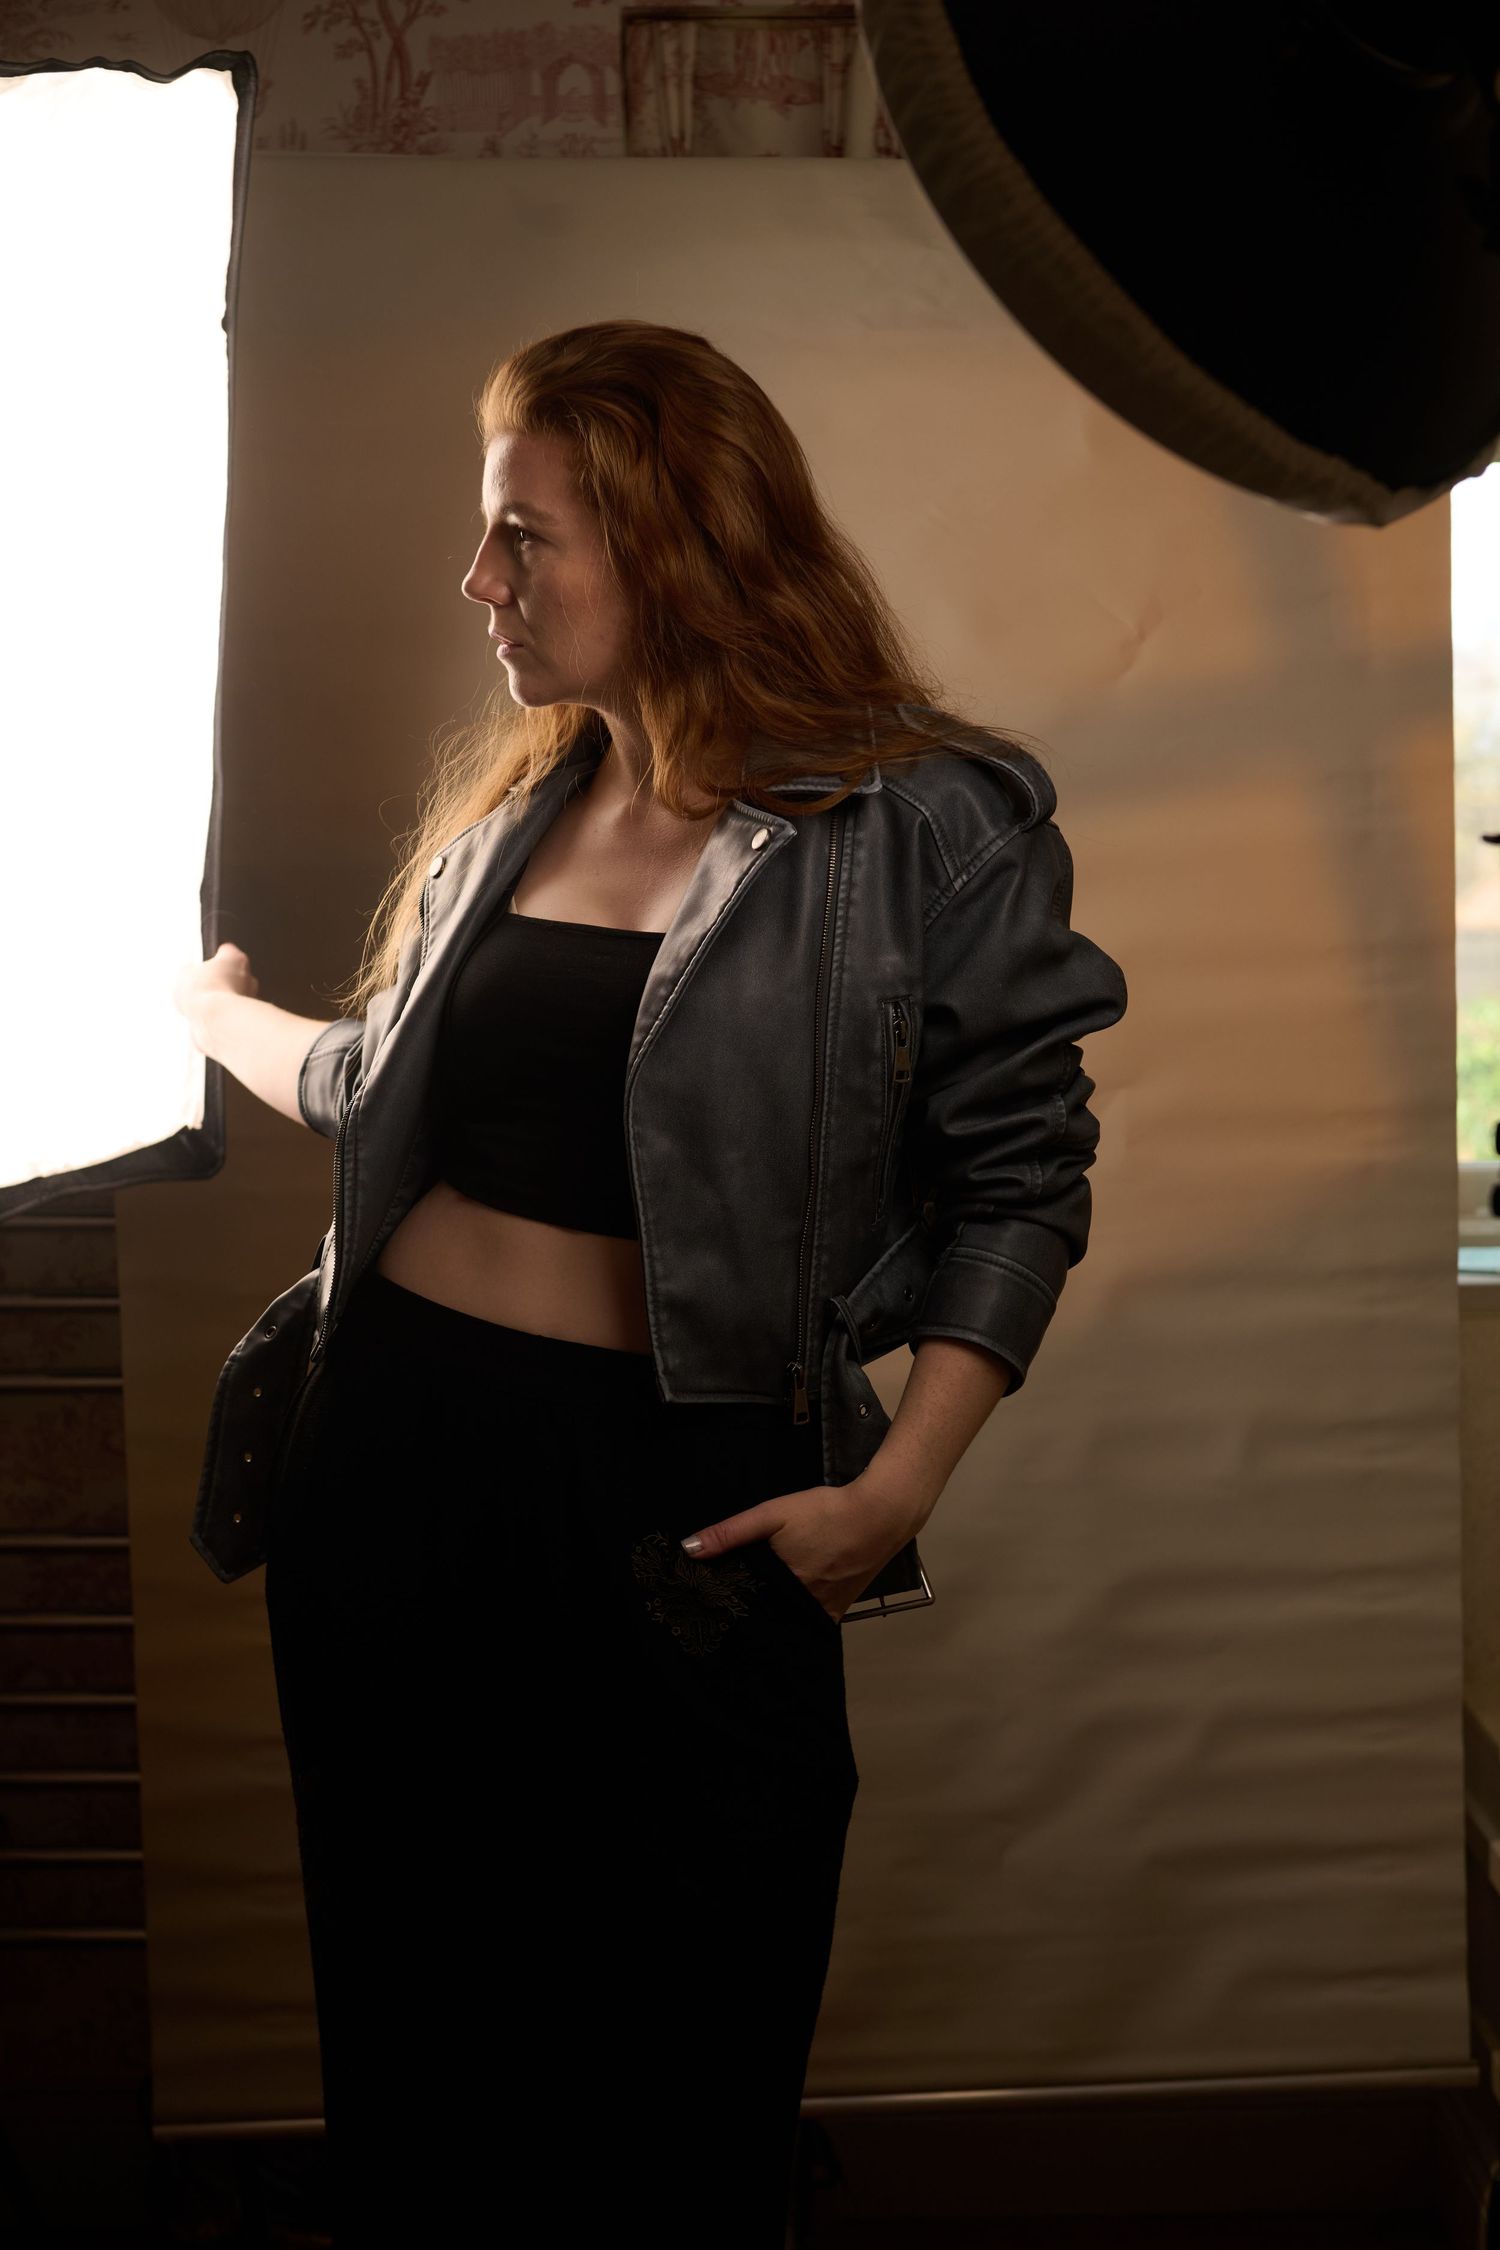
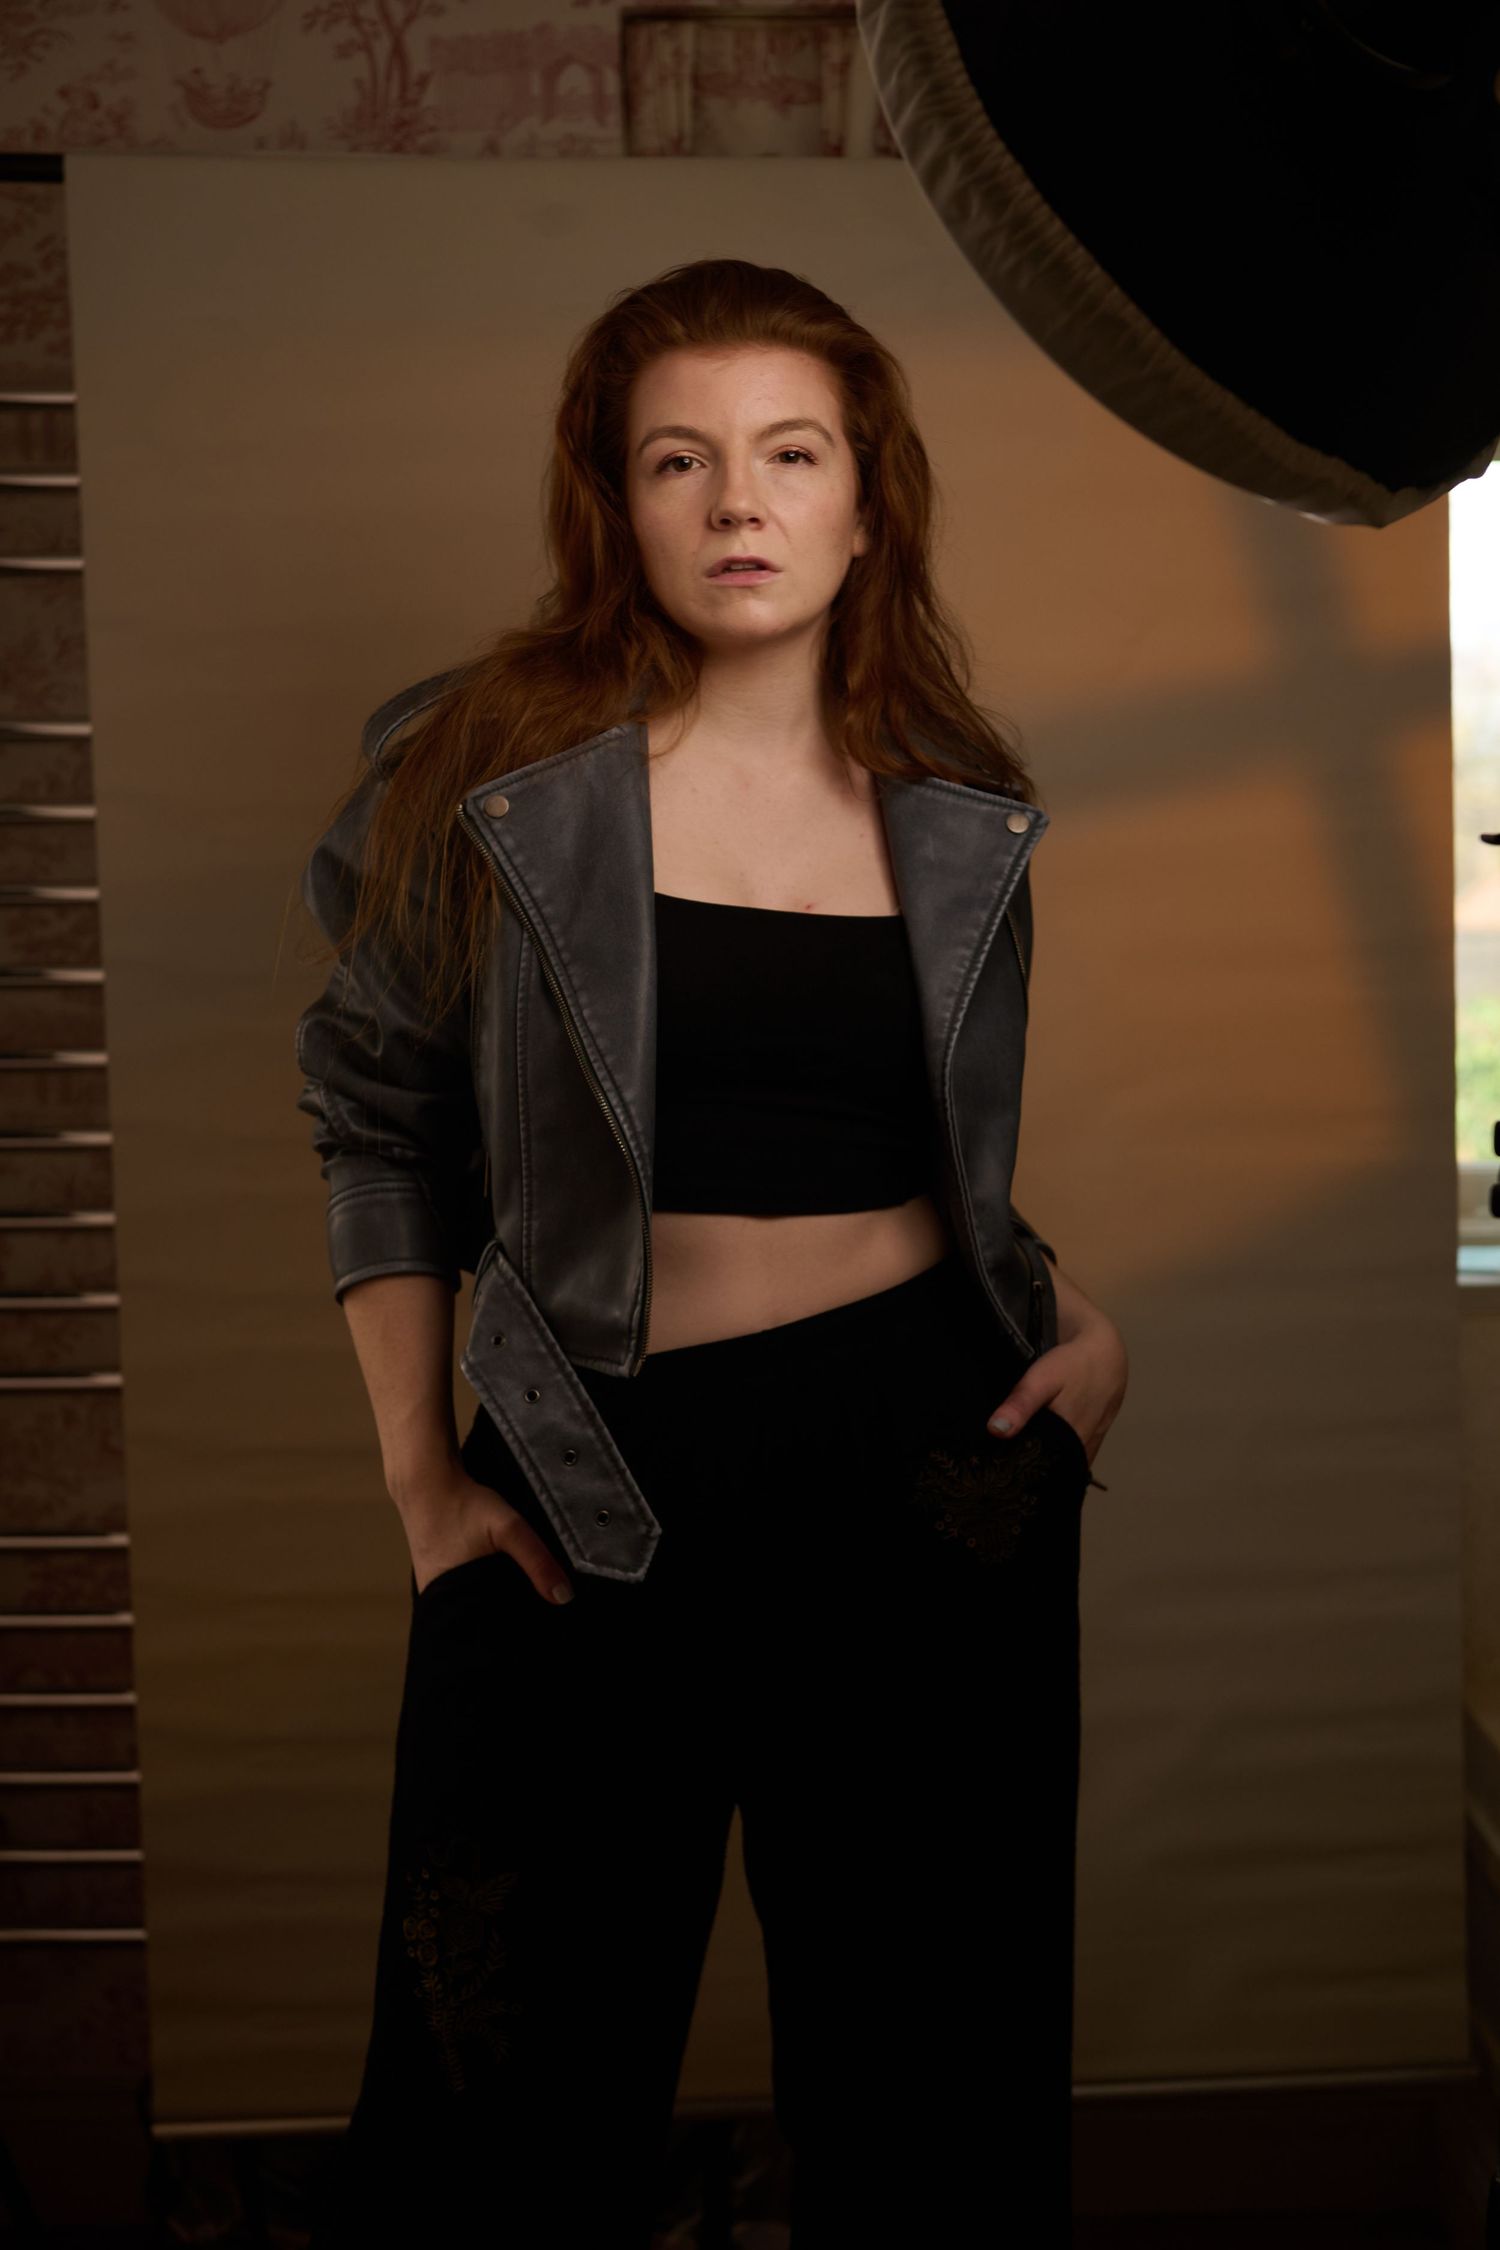
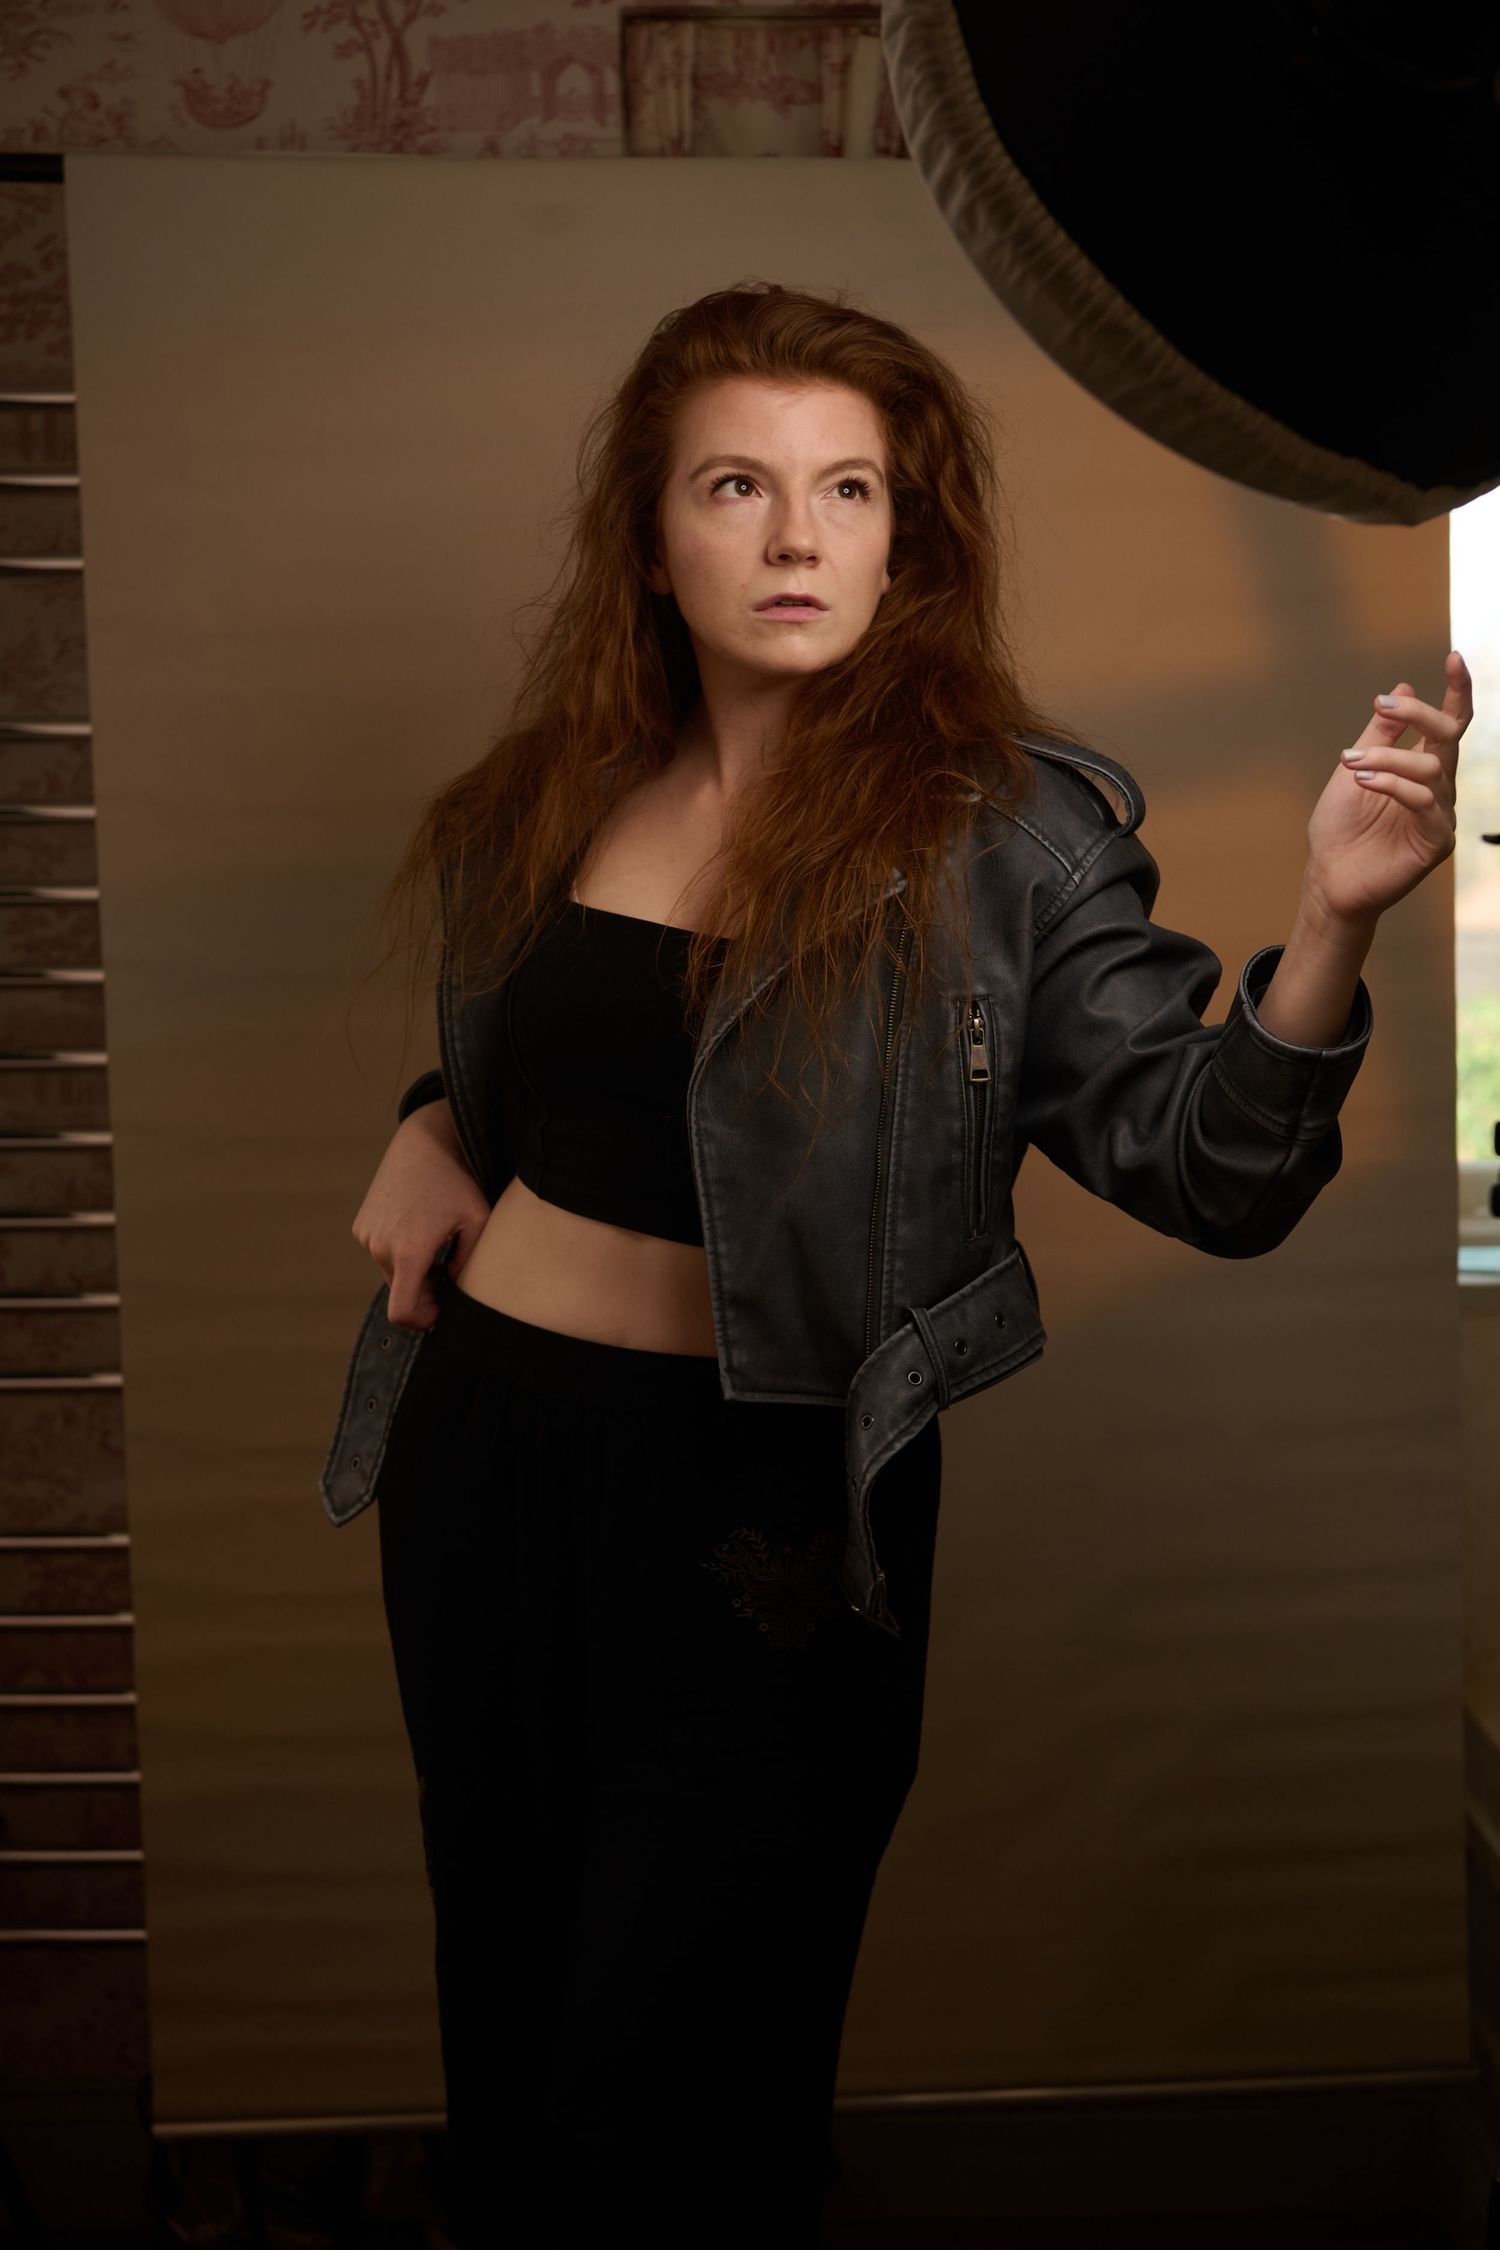
Moving the lights as I shoot! Self portraits, especially light tests are FULL of these random kinda 'fixing' type shots but I quite like how casual they are.
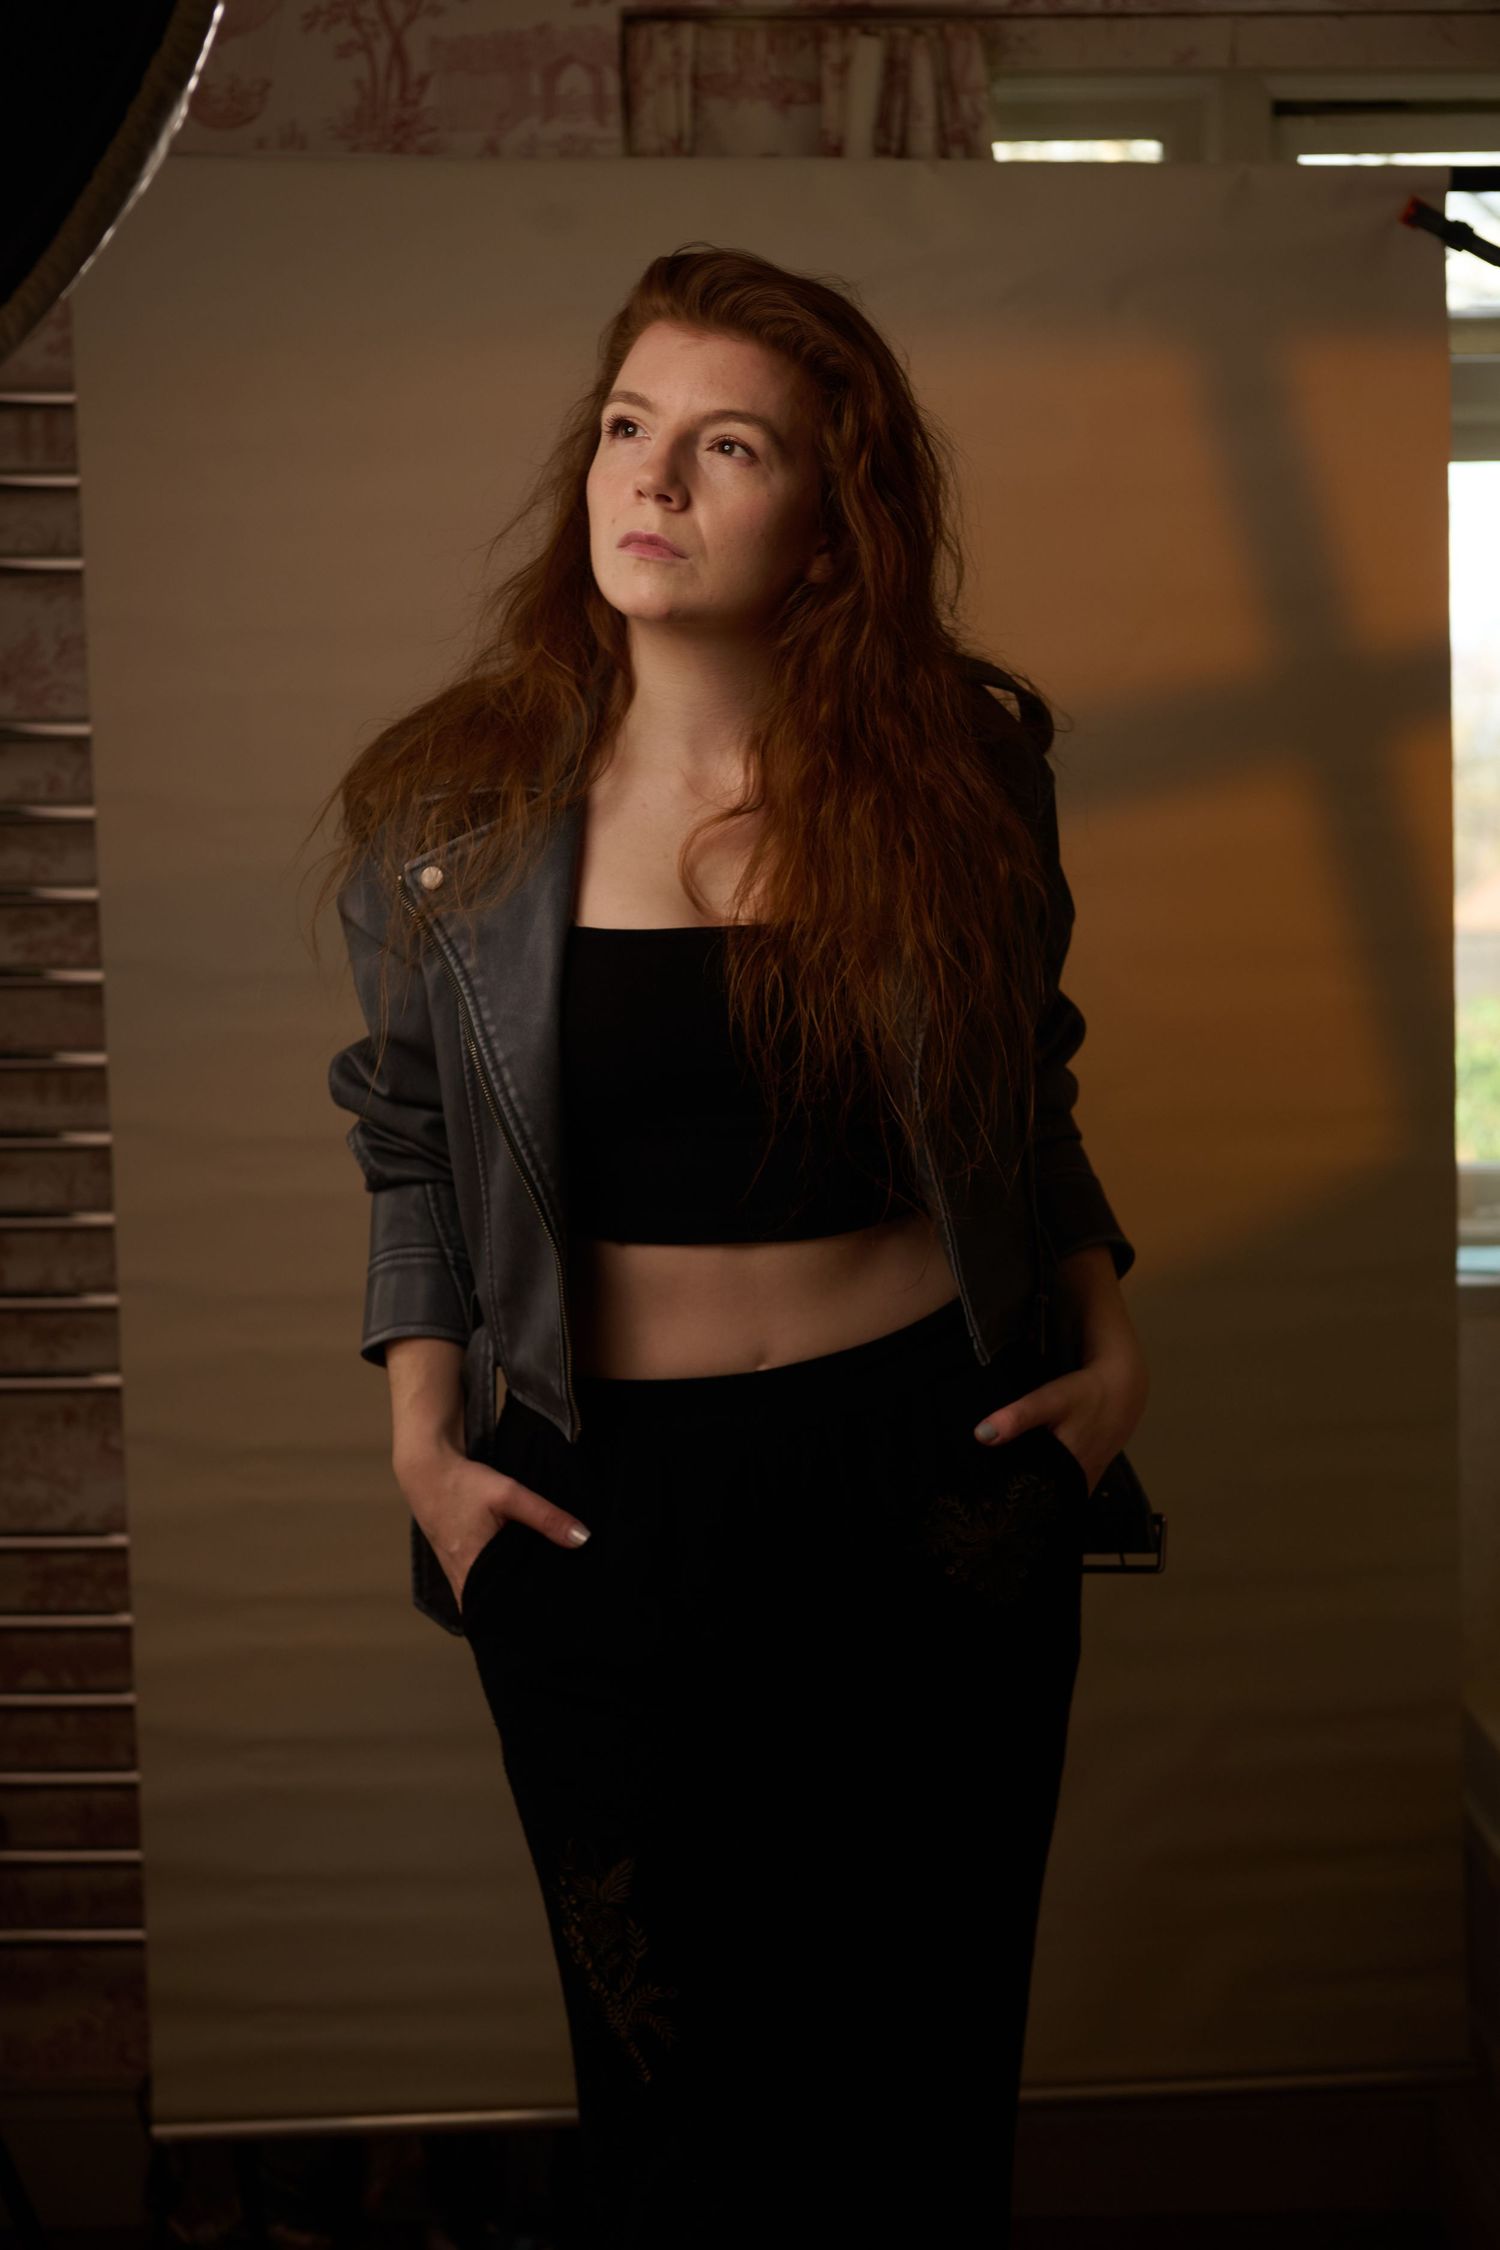
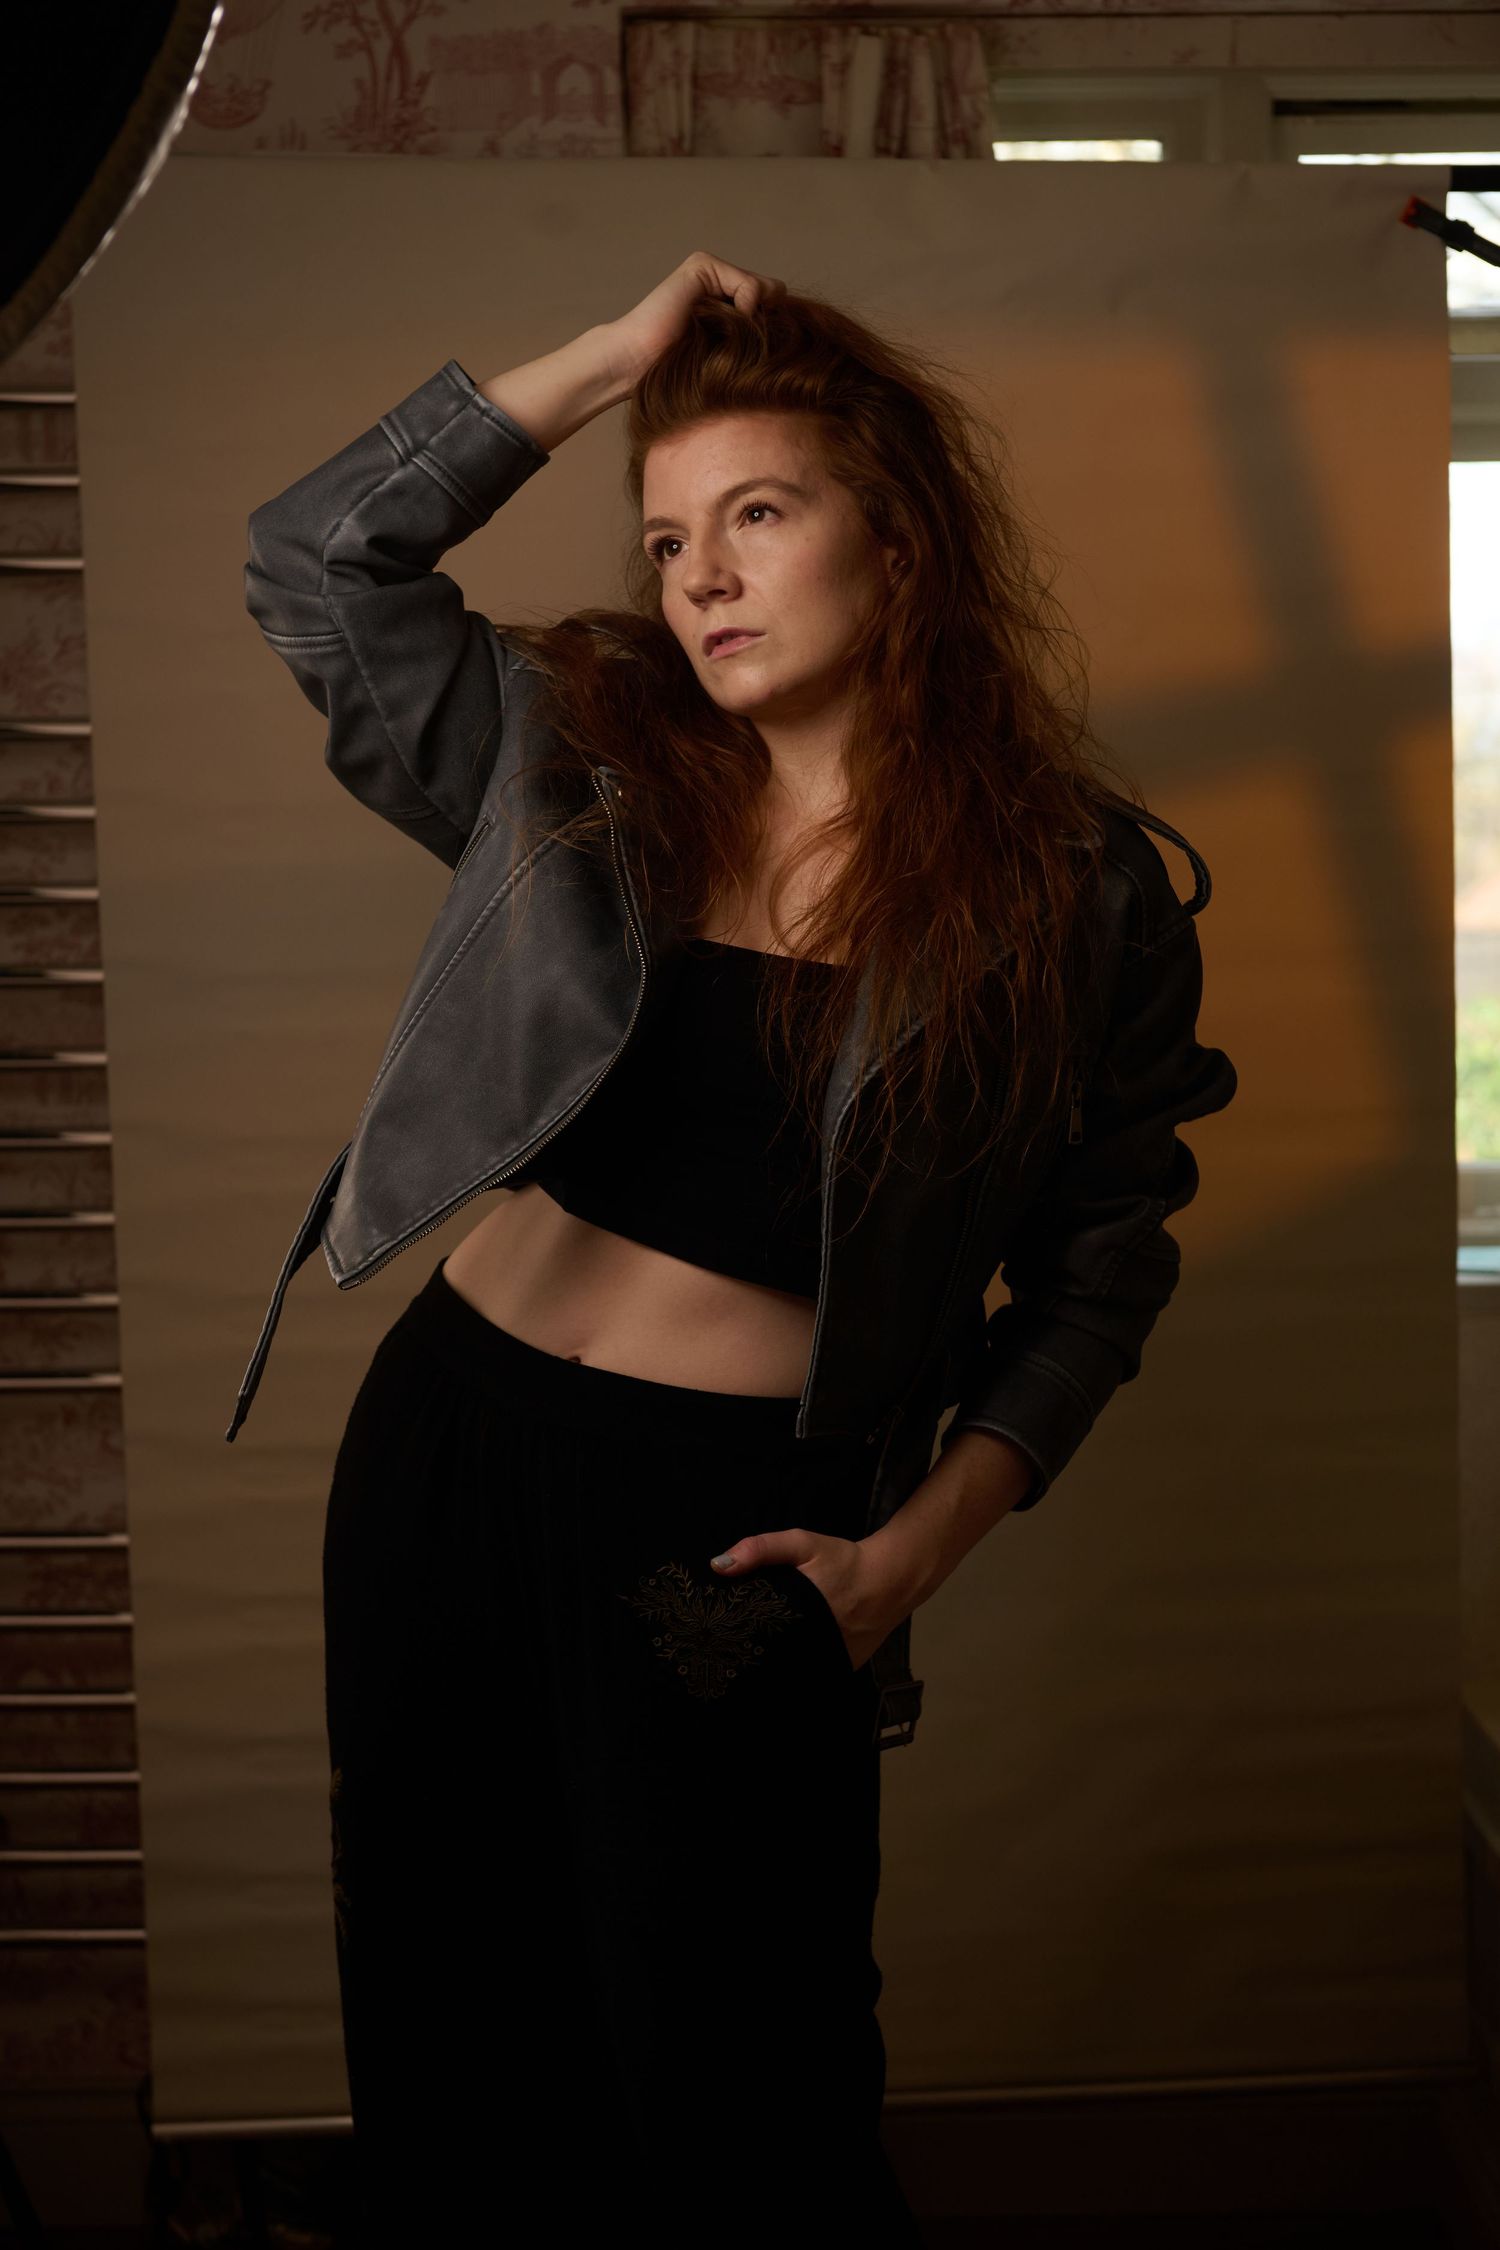
It's the small movements that mean I can refer back to these or just have more knowledge for future.
I've tried facing both lights, and then facing the camera to see the difference between the lighting over the models face. I've also experimented with if I can look at the camera whilst still having my face towards the beauty dish, without getting too much white in my eyes!
One of my favourites is the last one, with my face straight to the side. I wasn't expecting that to work at all but actually the lighting was really pretty!
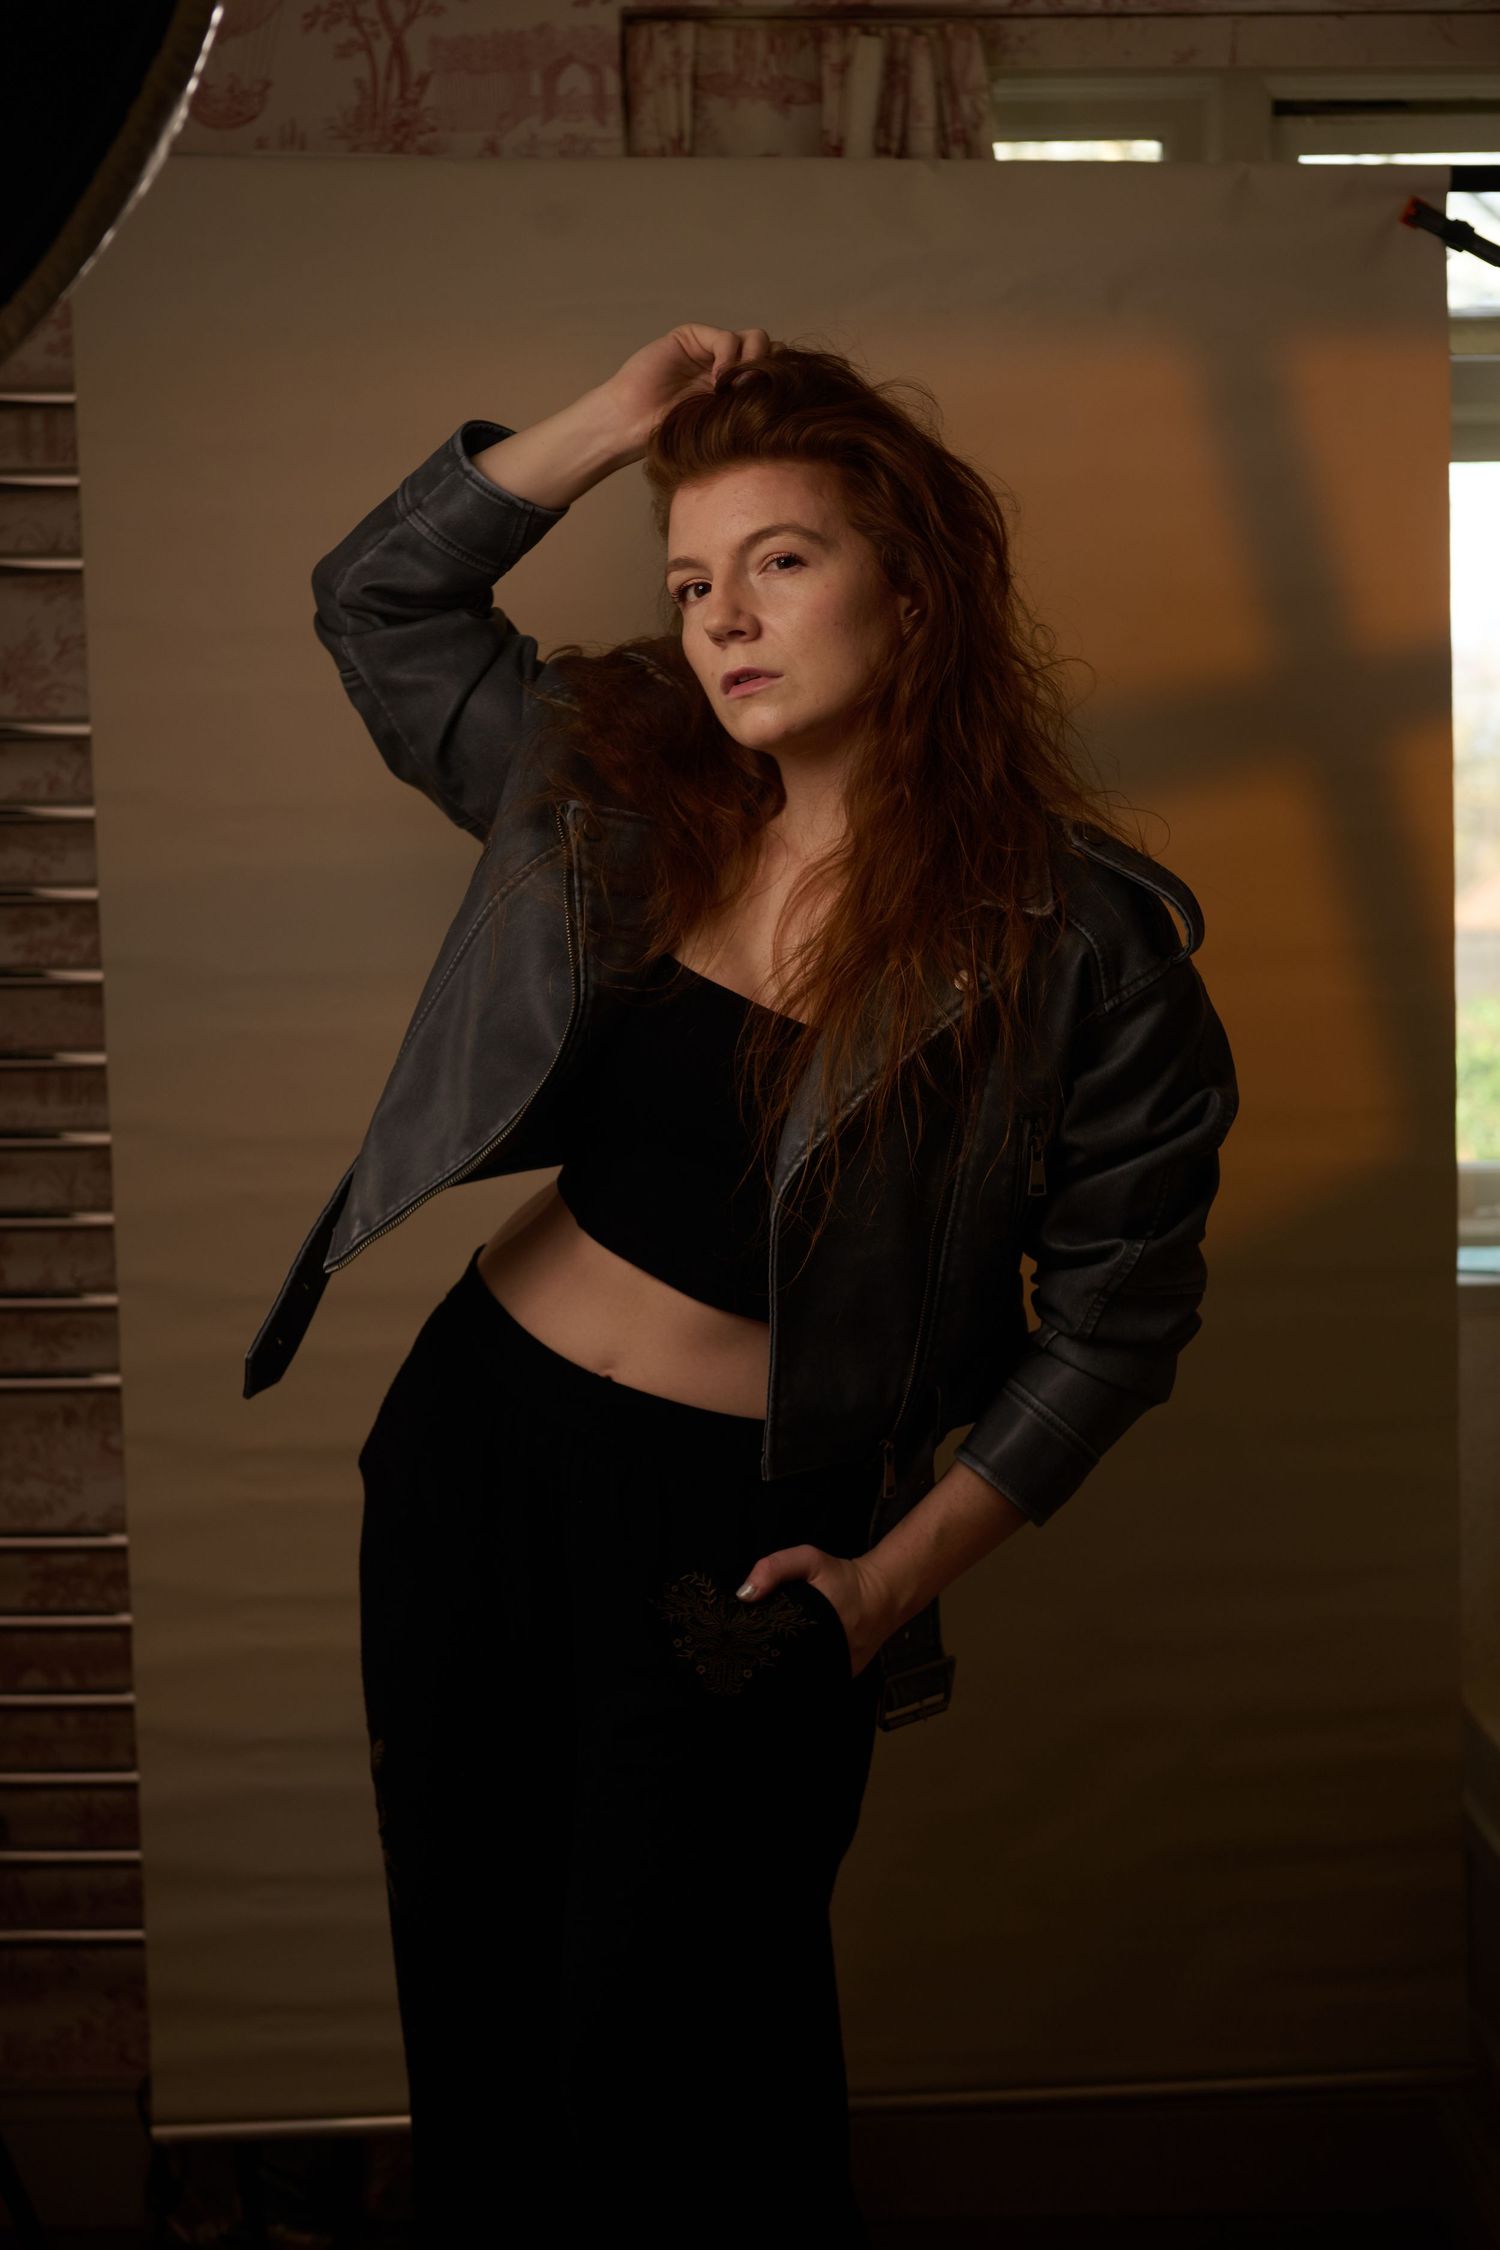
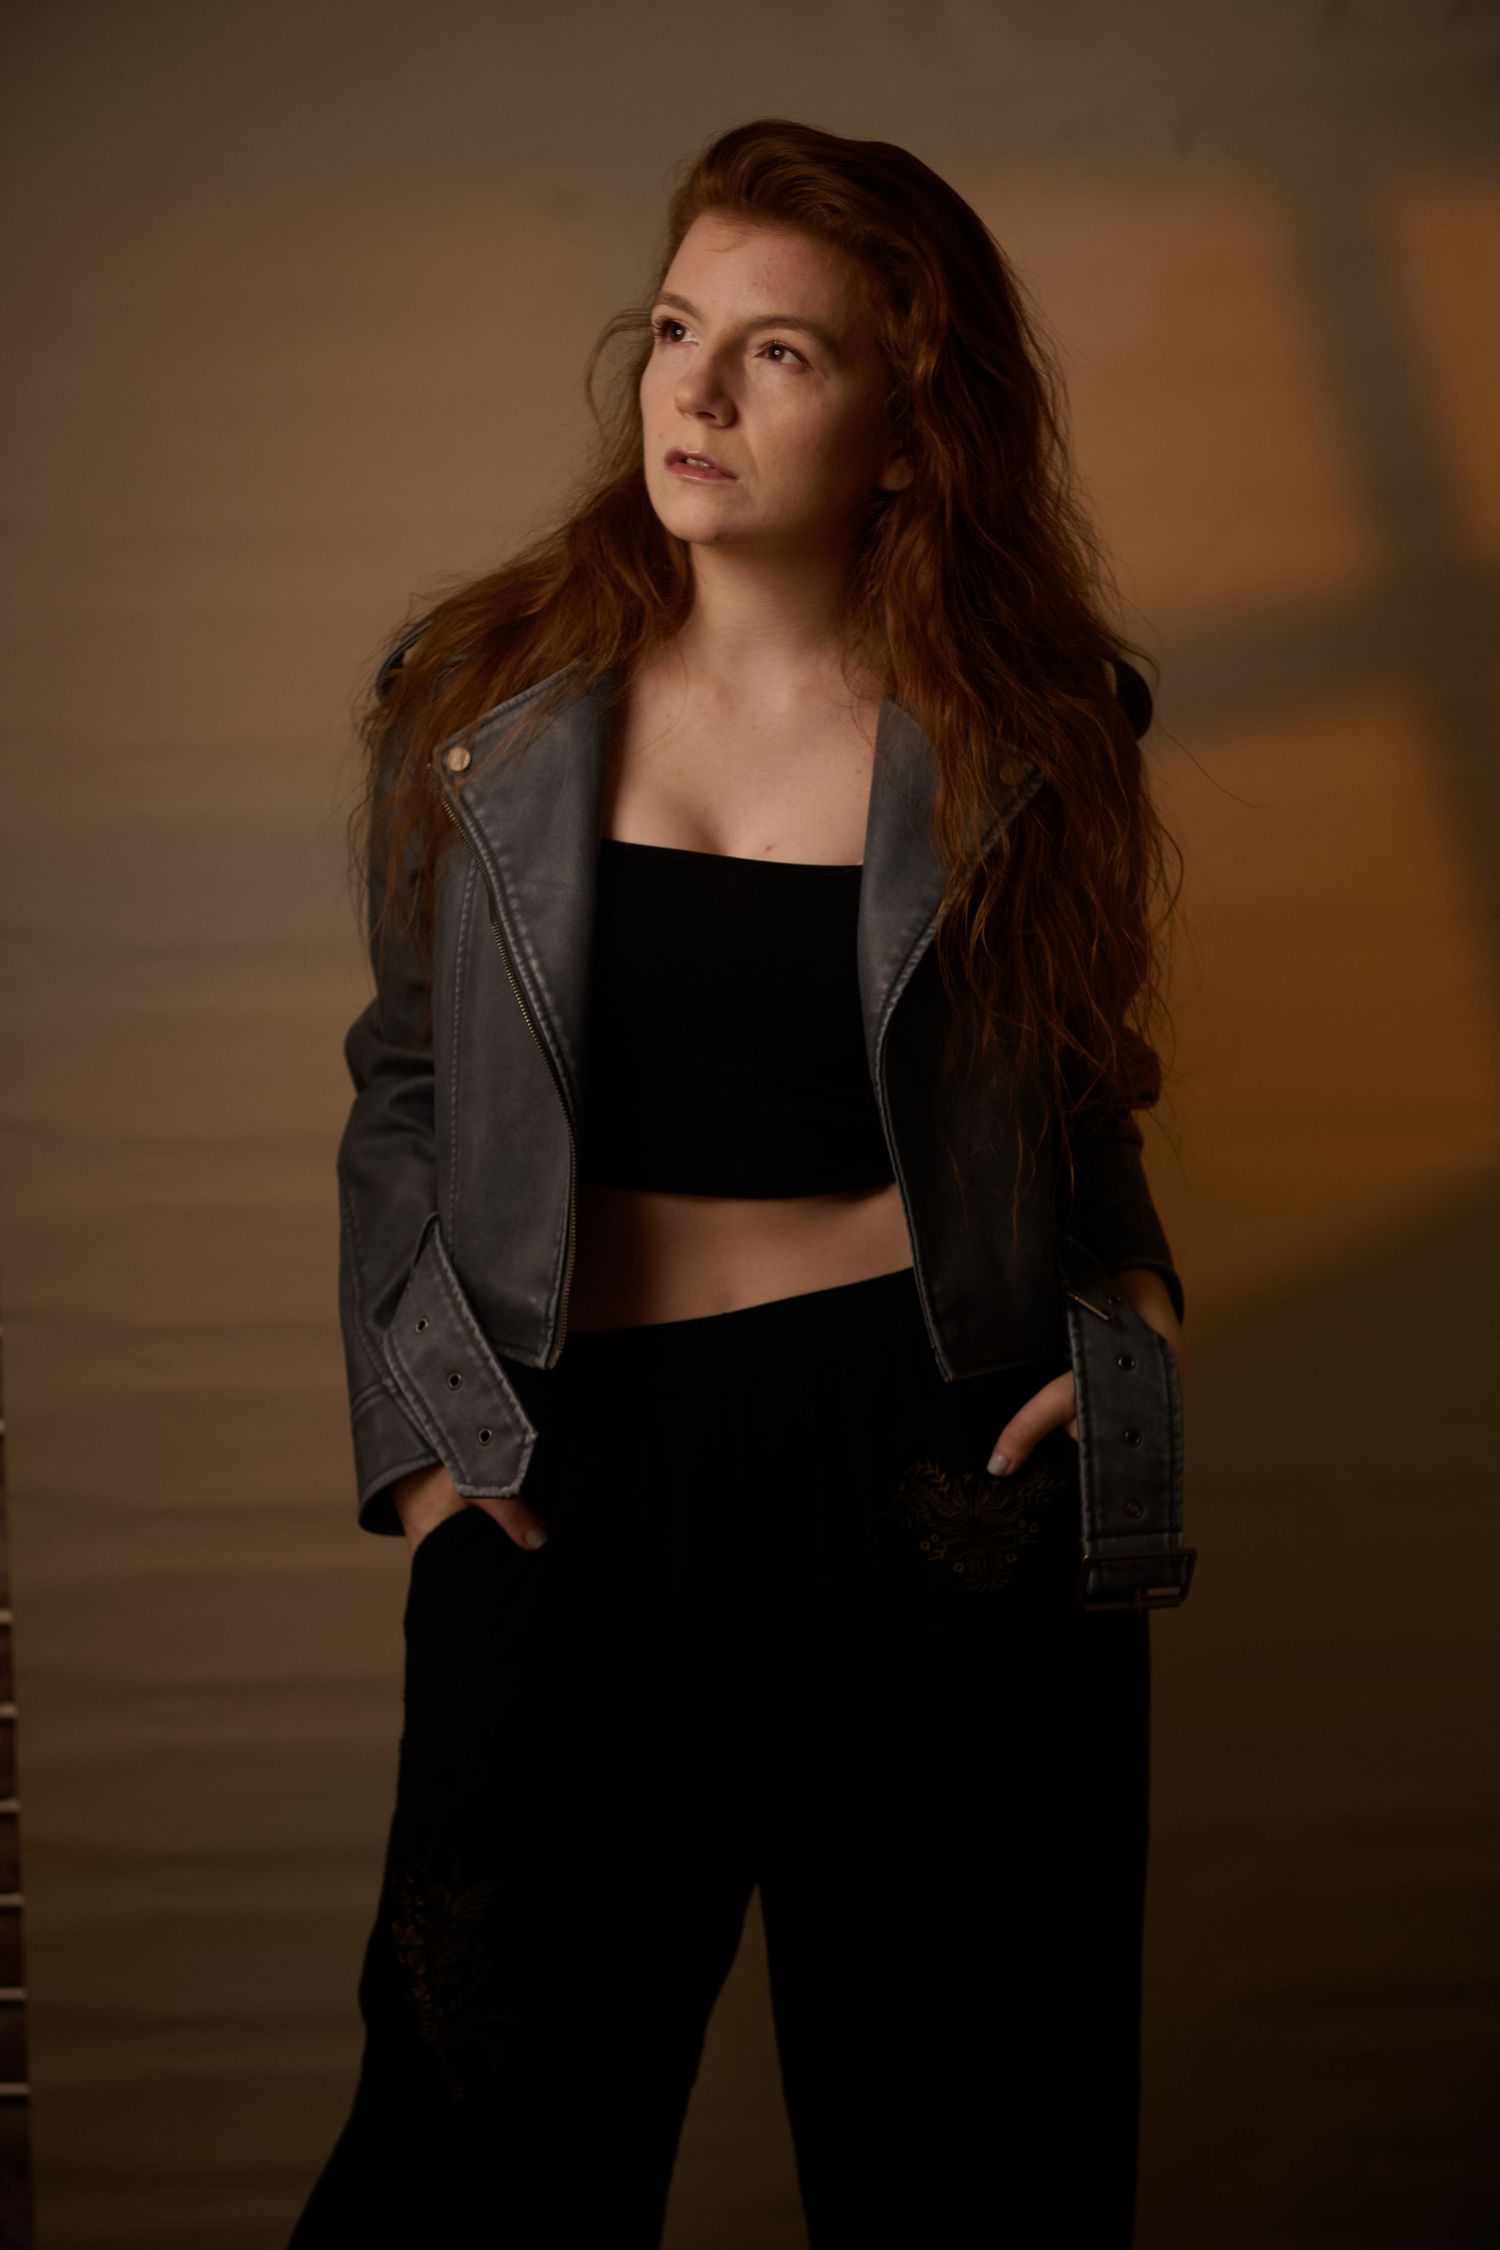
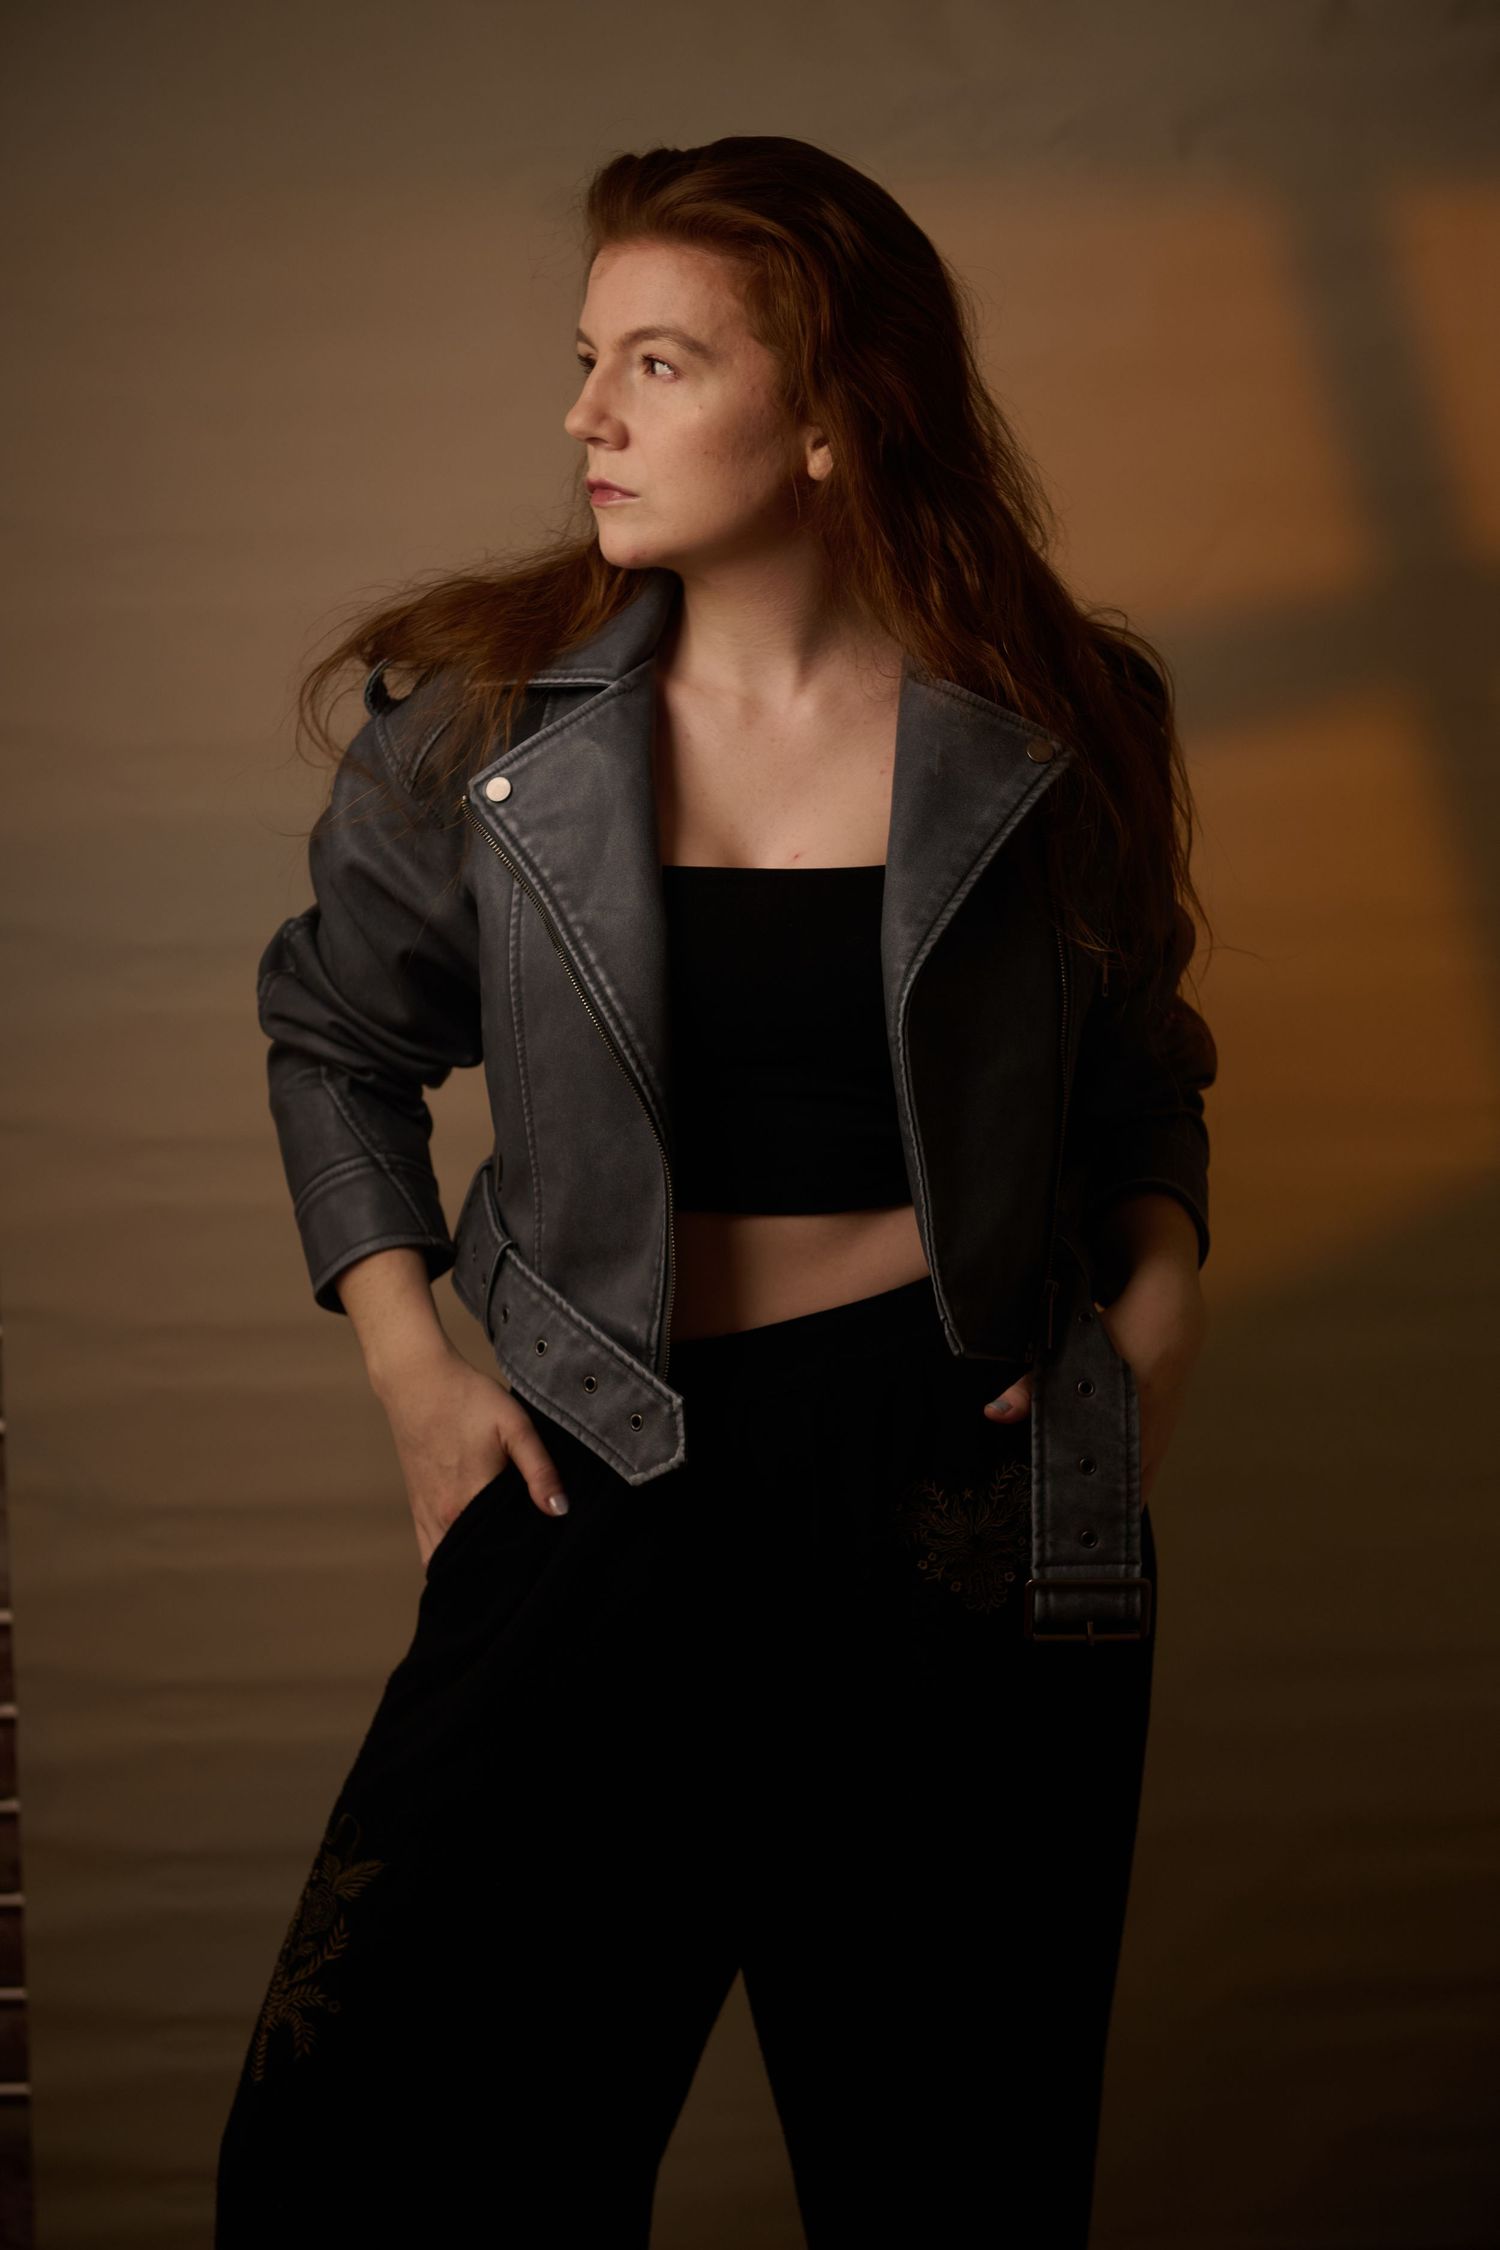
So, what did I think?
I'm so pleased I got the beauty dish back out, and gave myself the time and space to play around with it. I'll never stop loving the learning process in photography, where even 'test shots' can mean something. I also liked experimenting with the Neewer flashlight gobos! There’s a lot more I can do with it and I’ll focus in more in the future on practicing with them but for a first use, I was super happy with the longevity of the battery, and the number of options I had for shapes!
I'm planning to use the beauty dish/hair light modifier combo more for some more fantasy style shoots as it just gives that BEAUTIFUL soft light that nothing else can really replicate (due to the triple diffusion on it!)
In terms of this style of blog post - this is my first! It's been fun to document my thoughts, that normally only I get to hear and/or see, and to let go of the idea that only final images should be seen. I’ve always chatted better than I write in terms of explanations so I’ll get better over time – but my own blog is a great place to start getting ideas down, learning as I go! Better out there then stuck on my laptop :p
I really hope that someone out there gets inspired to try their own lighting setup, similar to this and if that's you, let me know how it goes! If there's ever anything you want documented, feel FREE to drop me a note and ask me to make similar posts in future - anything to help and to create makes me the most happy.
And if you're out there wishing you could have photos like this - you're in luck! Drop me a message and schedule your shoot in today - what are you waiting for? Let's make the most beautiful portraits.
Charlotte xxx